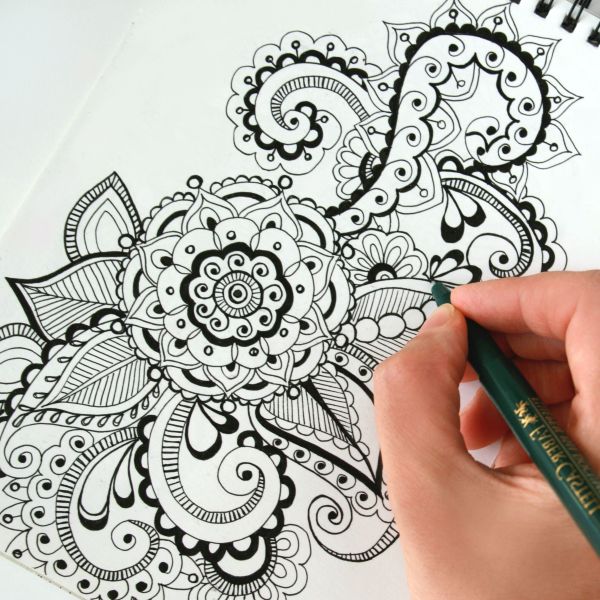
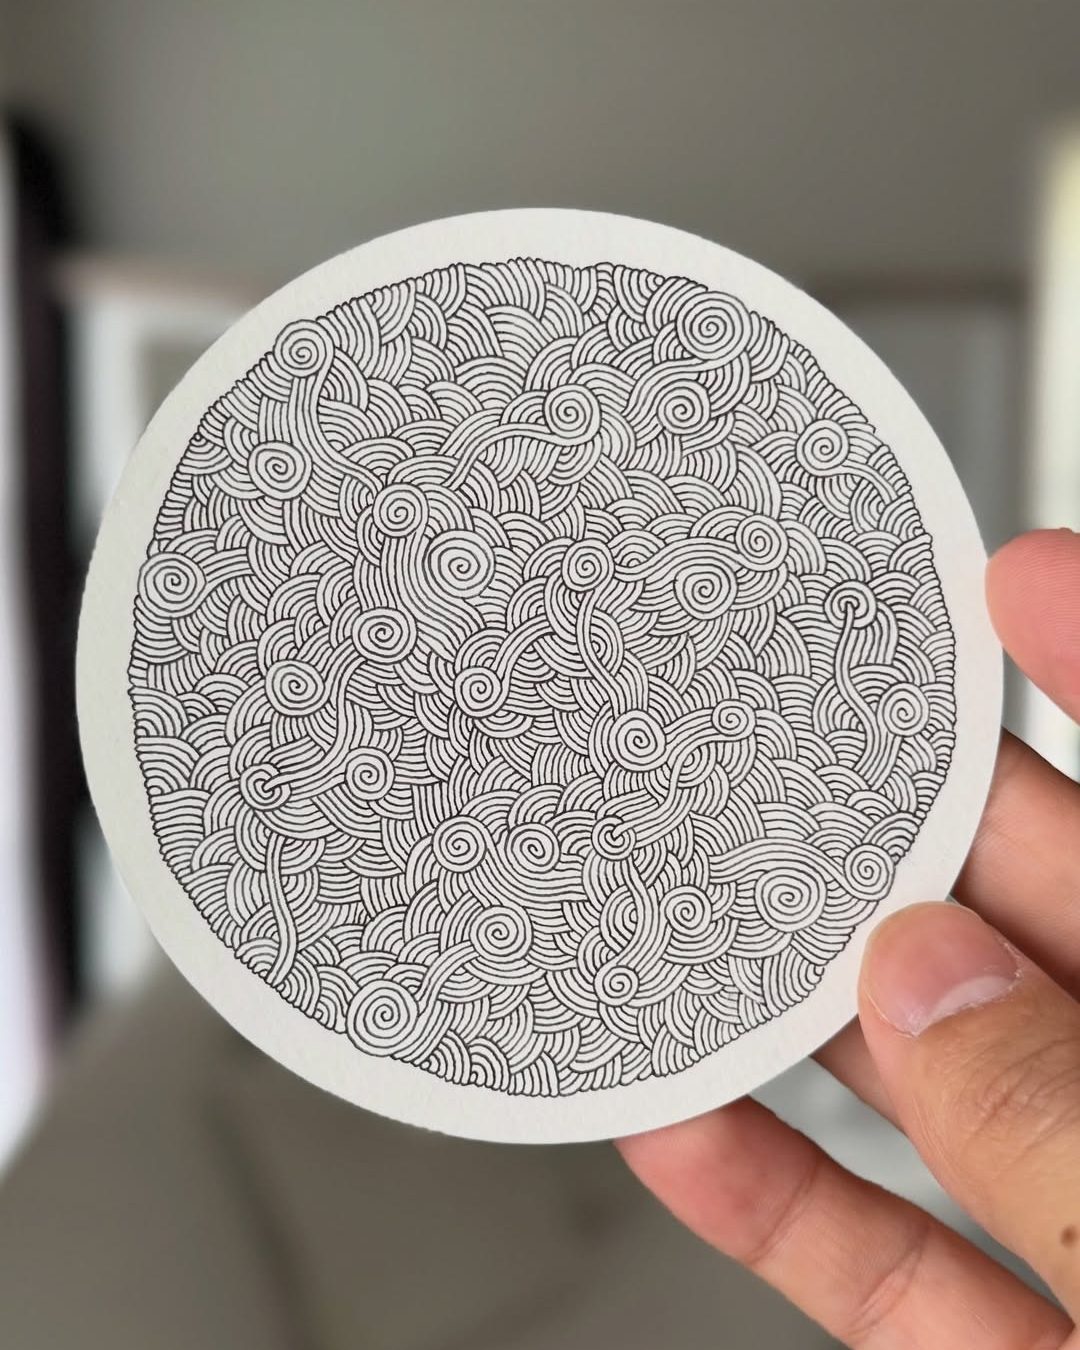
Looking for a creative way to relax and get inspired? This easy Ribbon mandala-inspired drawing tutorial is just what you need! With soft curves and a flowing, twisted effect, this pattern is calming to create and mesmerizing to look at. Perfect for beginners and seasoned doodlers alike!
Follow the steps below and learn how to draw a Twisted Ribbon Pattern from scratch. Let’s get started!
Supplies You’ll Need:
- A blank piece of paper or mandala template
- Pencil and eraser
- Fine-tip pen or black marker
- Ruler (optional)
- Compass or round object (optional)
- Coloring tools (optional)
Step-by-Step Instructions
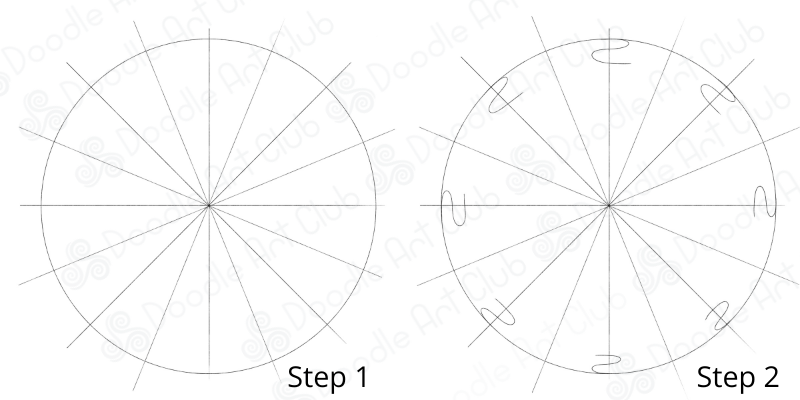
Step 1: Draw the Base
Start by drawing a large circle. Then divide it into 16 equal sections by drawing straight lines from the center outward—like slicing a pie. You can choose a different number, but using an even number helps maintain symmetry.
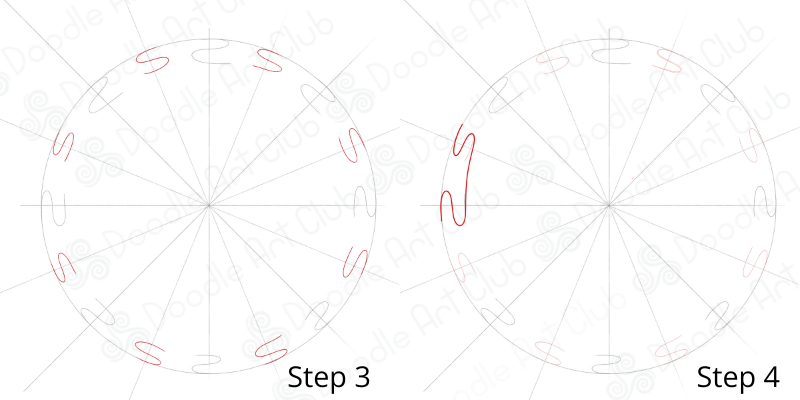
Step 2 & 3: Add the S-Shaped Ribbons
In every second segment near the outer edge, draw a gentle S-shaped curve. These should connect the dividing lines like a flowing ribbon.
Alternate the direction of each “S” so they mirror each other. This creates a balanced, rhythmic feel all around the circle.
Step 4: Connect the Ribbons
Outline around one of the “S” shapes, connecting it to the next in a smooth curve. This forms the outer edge of your ribbon mandala.
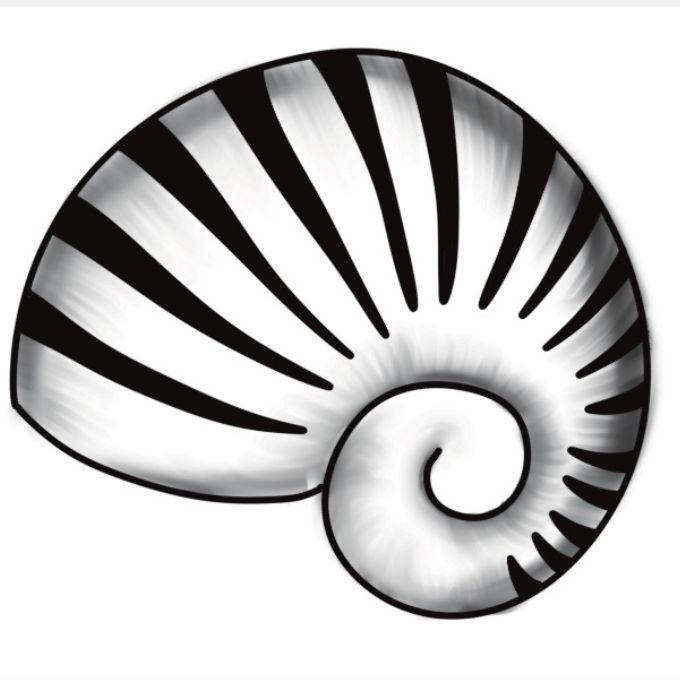
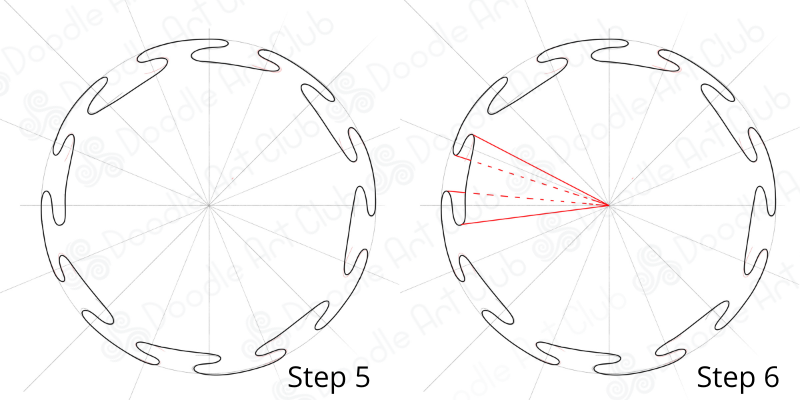
Step 5: Complete the Outer Edge
Continue outlining around the circle to connect all the ribbon shapes. You’ll now have a full circular ribbon that flows all the way around—nice work!
Step 6: Add Inner Guiding Curves
Choose one segment and draw guiding curves that flow inward from the outer ribbon toward the center. These will help build the inner structure of the twist.
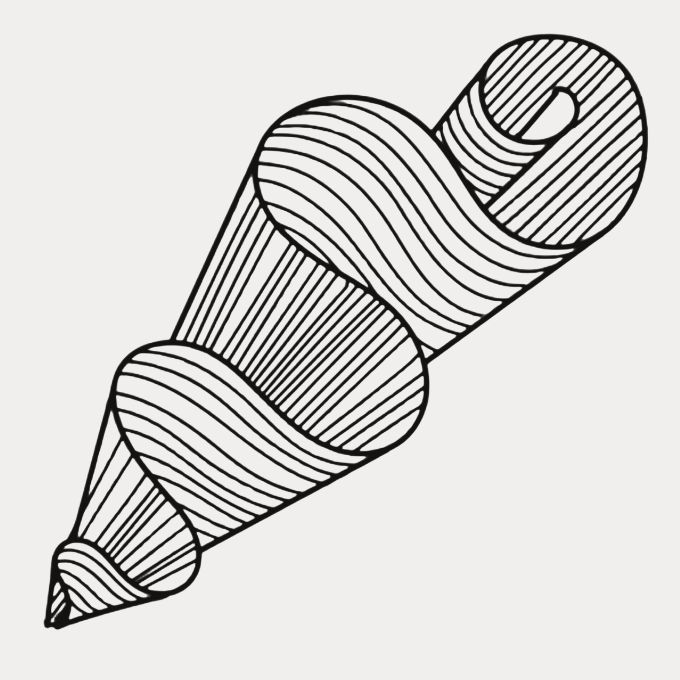
Step 7: Draw Inner Tapered Lines
Using your guides, draw soft tapered lines from the inner points of the ribbon toward the center. This will give each section a twisted, folded look.
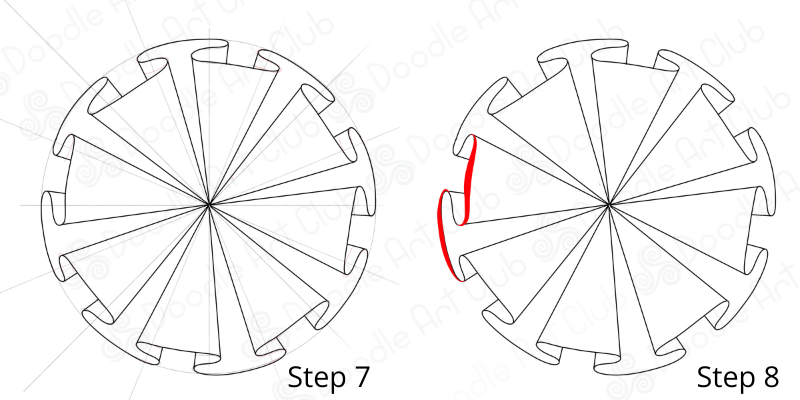
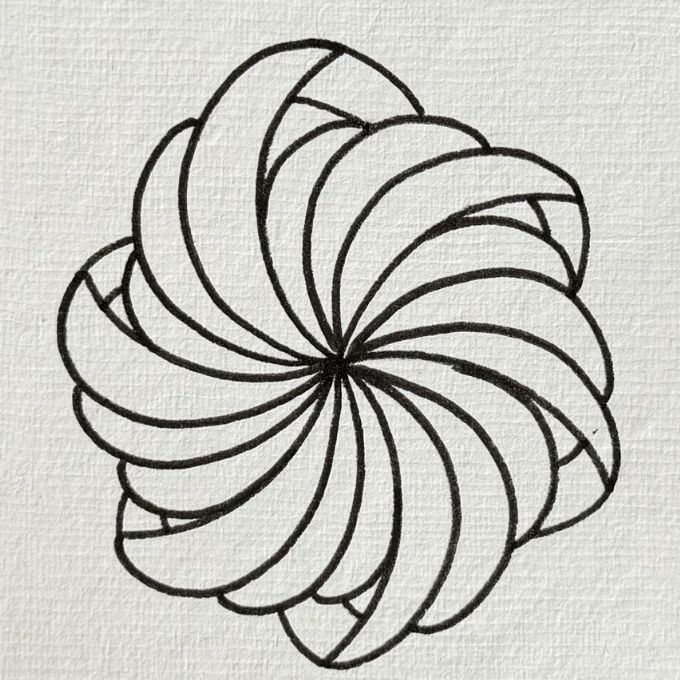
Step 8 & 9: Create the Fold Illusion
Add a curved edge on each section to mimic the inside of the ribbon twist. This is where the magic starts—your mandala begins to pop!
Step 10: Add Shading for Depth
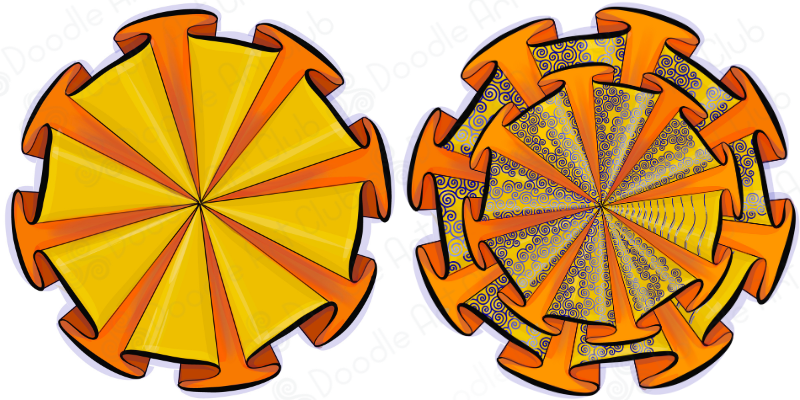
Use a pencil or pen to shade the inner curves of each ribbon section. Add darker shadows near the folds and blend lightly to create a 3D effect.

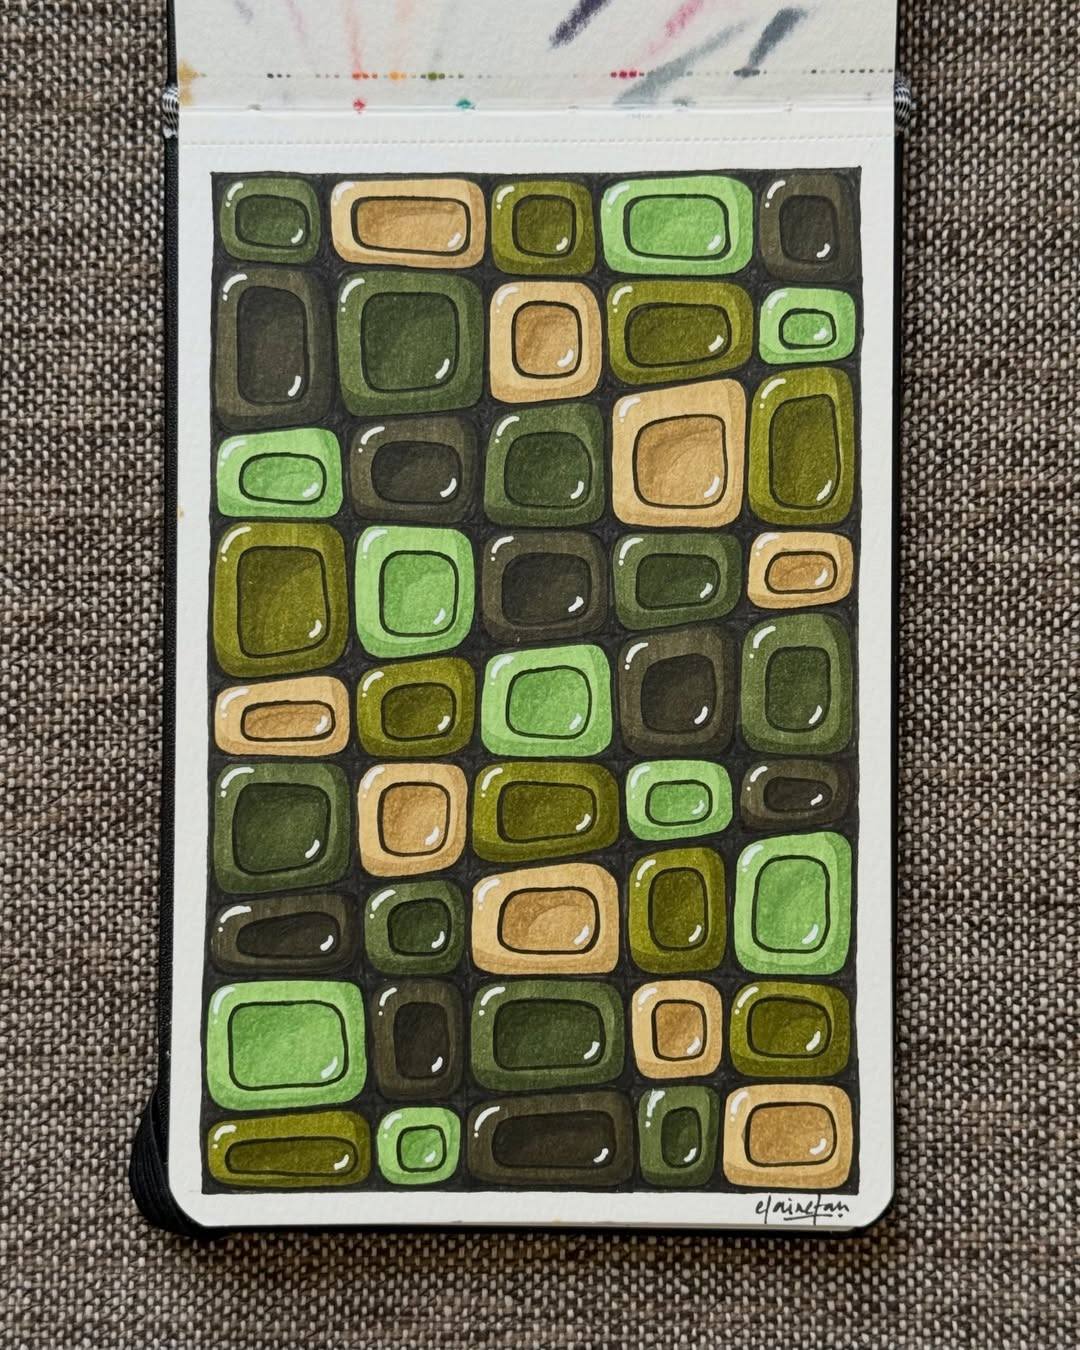
Add some color to it
Tips for Success
- Use light pencil strokes while sketching, so it’s easy to erase.
- Keep your curves smooth and consistent.
- Add color to give your mandala even more depth and personality!
Show Off Your Art!
We’d love to see your final piece!
👉 Tag us @DoodleArtClub or submit your art here for a chance to be featured on our site!
Looking for more creative drawing guides?
Explore our Workbook Collection for more patterns and inspiration!
Download the Step-by-Step Instructions + Practice Sheet
Want to follow along offline or practice at your own pace?
We’ve got you covered!
👉 Click here to download the Twisted Ribbon Pattern Tutorial & Practice Sheet (PDF)
This printable file includes:
- All 9 steps clearly laid out
- A blank circle template to get started
- Space to practice your own ribbon pattern
Perfect for printing or importing into your tablet or iPad.
🎨 Artist Credit:
Inspired by the original work of @doodles_and_tangles
✍️ Tutorial created by: Olga Dee
Instagram: @olgadee.art