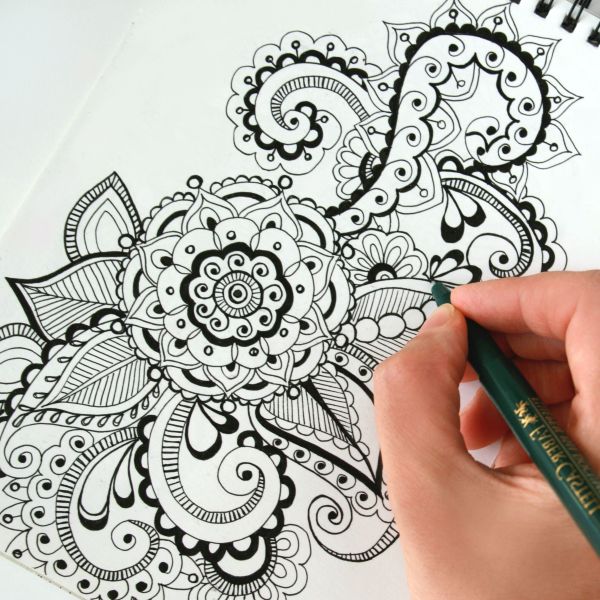
A relaxing step-by-step tutorial for the holiday season
Creating a Christmas tree from simple layered shapes is a beautiful way to practice flow, shading, and mindful drawing. This project is perfect for beginners and experienced doodlers who want something calming and festive. Today we will build the entire tree from one elegant shape, adding soft shading, gentle highlights, and playful decorations.
Let’s begin.
Materials You Will Need
- Fineliner: Sakura Micron 05 for clean, crisp outlines
- Pencil: HB graphite pencil (Staedtler Mars Lumograph recommended)
- Blending stump: For smooth shading
- White gel pen: Gelly Roll 10 for highlights
- Paper:
- Best: 100% cotton watercolor paper (cold press, 300 gsm)
- Also great: Fabriano Rosaspina 220 gsm printmaking paper
Watercolor paper is ideal because it handles layering, shading, and ink beautifully.

Step-by-Step Drawing Instructions
Step 1: Draw simple guidelines
Lightly sketch a vertical line.
Add a horizontal line crossing it slightly above center.
These will help you position the main shape.
Step 2: Add three construction circles
Draw one large circle below the horizontal line.
Add two smaller circles on the horizontal line, each overlapping the top of the big circle.
This forms the structural base.
Step 3: Draw the left side curve
From the left small circle, draw a smooth S-shaped line.
It curves gently outward, then turns upward and stops above the circles.
This creates the left contour of the shape.

Step 4: Create the top and right side in one flowing line
From the end of the line you drew in Step 3, draw one long continuous curve that:
- Rises into a pointed tip,
- Slopes gently downward,
- And connects to the right small circle.
This single line forms the top and the right side.
Step 5: Close the bottom
Use the large circle as a guide and draw along its lower arc, connecting the left and right sides.
Your outer silhouette is complete.
Step 6: Ink your outline
Trace the final outer contour using your fineliner.
Let it dry, then erase all pencil guides.

Step 7: Add an inner border
Inside the shape, draw a second outline that follows the contour evenly, leaving a thin gap.
This border adds depth and structure.
Step 8: Add inner teardrop shapes
From the top point, draw a long droplet shape inside the form.
Add another smaller droplet inside it.
These guide your shading and create the dimensional layered look.
Step 9: Shade the outer shape
Use your pencil to shade along the inside edges of the larger outline.
Blend the shading gently toward the center so it fades softly.

Step 10: Shade the inner droplet shapes
Repeat the same shading technique in the inner shapes: darker on the edges, lighter toward the middle.
Step 11: Add highlight circles
Inside the top droplet, draw two or three tiny circles.
These remain white to create bright highlights.
Step 12: Add shading from the top downward
Shade the top of the droplet, fading gradually as you approach the white circles.
Blend softly for a smooth gradient.
Your base teardrop element is now complete. You will now repeat this shape to build the Christmas tree.

Step 13: Build the tree from layered shapes
Create your tree by stacking multiple teardrop shapes:
- Larger shapes at the bottom
- Medium-sized shapes in the middle
- Smaller shapes near the top
- One final teardrop at the very top
Allow the shapes to slightly overlap. Keep the arrangement soft and organic, like layered branches.
Step 14: Add curls, swirls, and ornaments
Between the layers, add playful curls, spirals, loops, or round ornaments.
You can also draw floral spirals or tiny pearls.
Keep everything flowing and balanced.
Step 15: Add color (optional)
If you choose to color your tree:
- Use soft greens or teal for the teardrops
- Add pink or red for spiral ornaments
- Reinforce shading with colored pencils
- Deepen the outlines with your fineliner for extra contrast
Step 16: Add sparkle and finishing touches
Use the white gel pen to highlight edges, ornaments, and inner droplets.
Add small stars or twinkle marks around the tree to give your artwork a festive glow.
Final Result
Your finished Christmas tree will feel soft, whimsical, and full of movement. This technique gently combines doodle art and Zentangle-inspired flow, creating a relaxing holiday drawing that looks beautiful on cards, tags, or framed art.