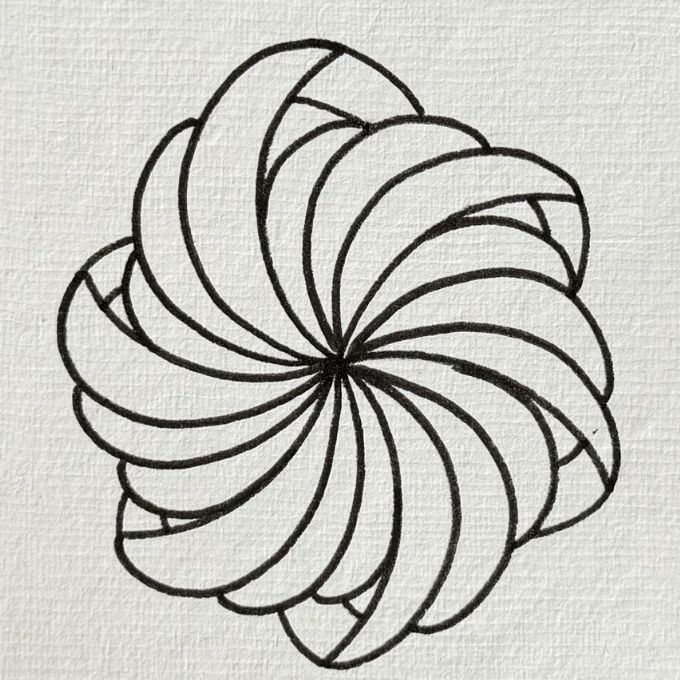
Twisted is a structured, grid-based pattern that transforms straight guide lines into soft, woven ribbons. Through careful repetition, curved connections, and directional shading, the pattern develops a strong sense of movement and depth while maintaining a calm, rhythmic drawing process.
This step-by-step pattern was drawn and shared by Saleha. The pattern itself, Twisted, was originally created by Hennie Brouwer. We are sharing this tutorial as an educational and inspirational reference with full credit to both artists.
At Doodle Art Club, we love showing how patterns move through the creative community — evolving as artists explore them, reinterpret them, and share their process.
About the Pattern
Twisted is built on a square grid and diagonal structure. Straight lines establish the foundation, while rounded connections transform the geometry into a woven, ribbon-like surface. Shading is essential to the final effect, creating the illusion of overlap and twist.
This pattern is especially helpful for:
- practicing controlled curved strokes
- understanding diagonal grids
- learning over-and-under weaving logic
- developing depth through directional shading
Twisted works beautifully as an all-over pattern or a bold standalone tile.
Step-by-Step Drawing Instructions
Step 1
Begin with a square tile and lightly draw an even grid across the entire surface. This grid will help keep spacing consistent throughout the pattern.
Step 2
Add diagonal guide lines across the grid, creating a repeating diamond structure. Keep these lines light, as they are only used for alignment.
Step 3
Using the diagonal guides, draw short straight line segments in one consistent direction across the tile. Leave open spaces between the segments.

Step 4
Extend the structure by connecting the diagonal segments into a continuous zigzag path. The pattern should now repeat evenly across the tile.
Step 5
Round the sharp angles by replacing zigzag corners with smooth, curved lines. Each pathway should begin to resemble a flowing ribbon.
Step 6
Define the woven effect by adjusting overlaps and adding inner contour lines so some ribbons appear to pass over others.

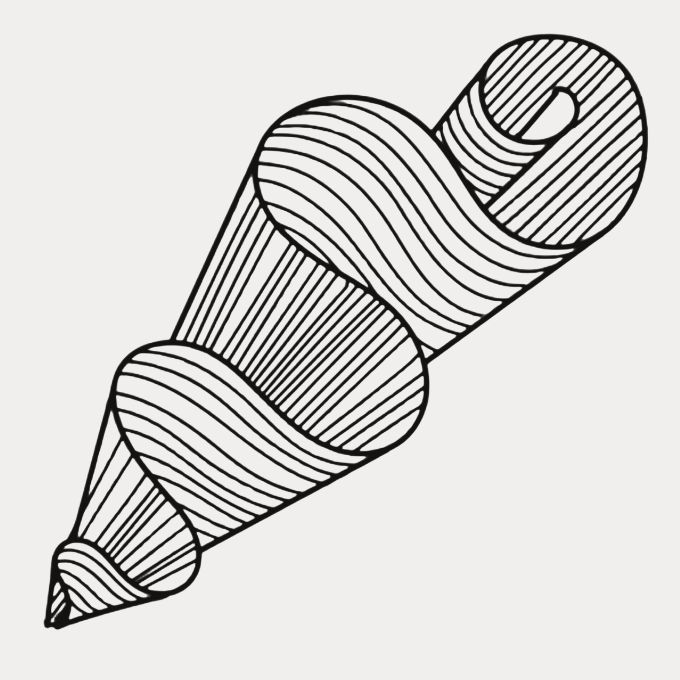
Once the structure is complete, add fine, parallel shading lines that follow the direction of each ribbon. Increase line density where ribbons overlap or curve inward to enhance depth and dimension. The finished Twisted pattern has the appearance of interlaced, twisting ribbons with strong movement and texture.

Artist Credits
Pattern: Bownus by Angie Gittles
Step-out drawing: Saleha. You can find more of Saleha’s artwork and pattern explorations on Facebook under the name: What Saleha Did
We are grateful to artists who inspire others by openly sharing their work and creative journey!