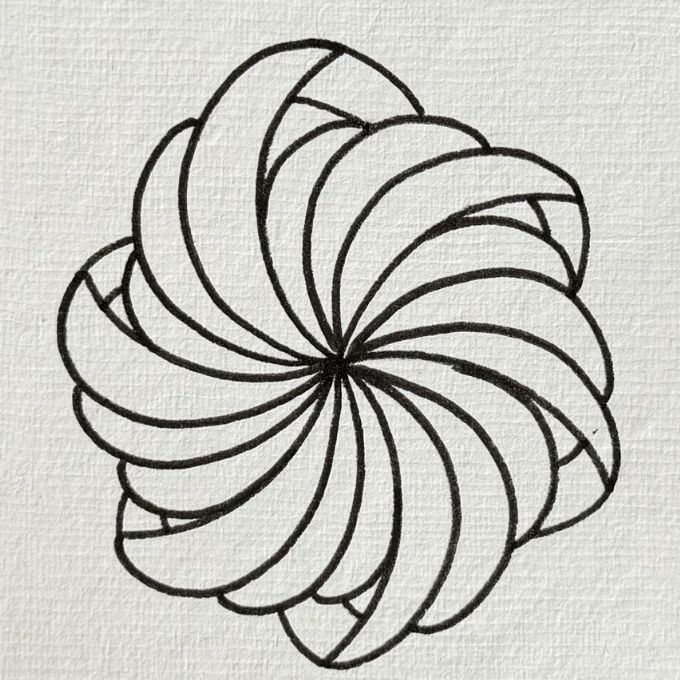
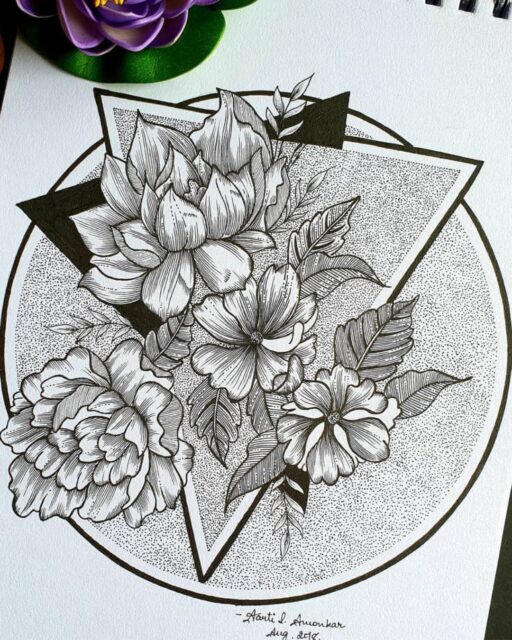
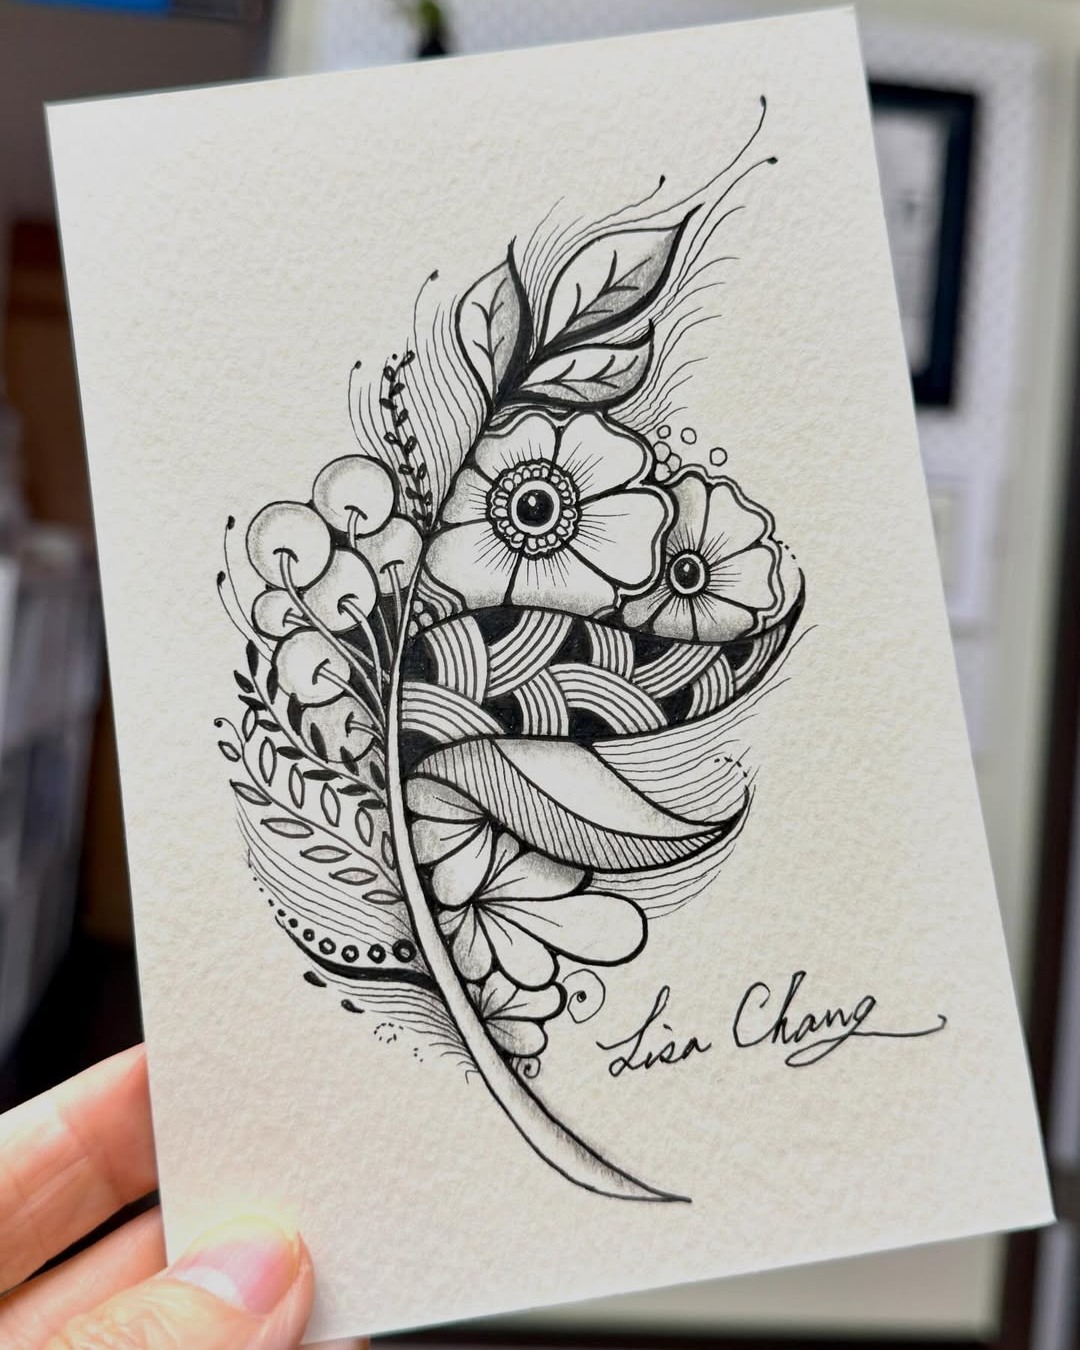
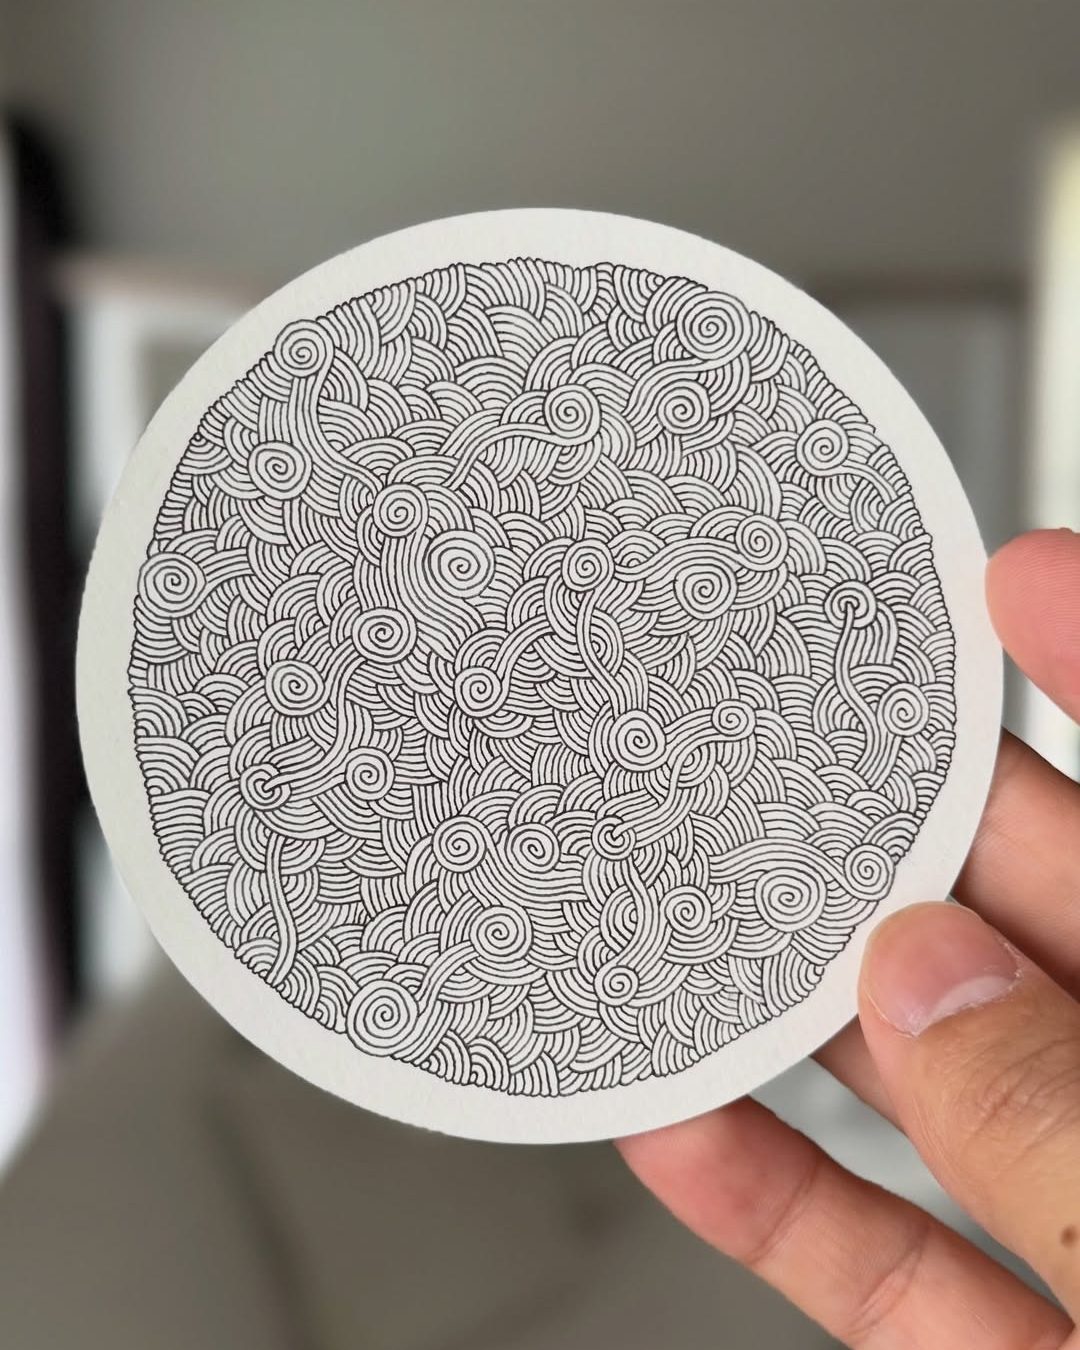
A simple flower built with smooth, flowing layers from the center outward
This floral pattern is designed around flow. You start from a small center and gradually expand outward, adding petals in layers. The process is calm and structured, but still allows your lines to feel soft and natural. Follow your images step by step and focus on keeping the spacing even and the lines relaxed.
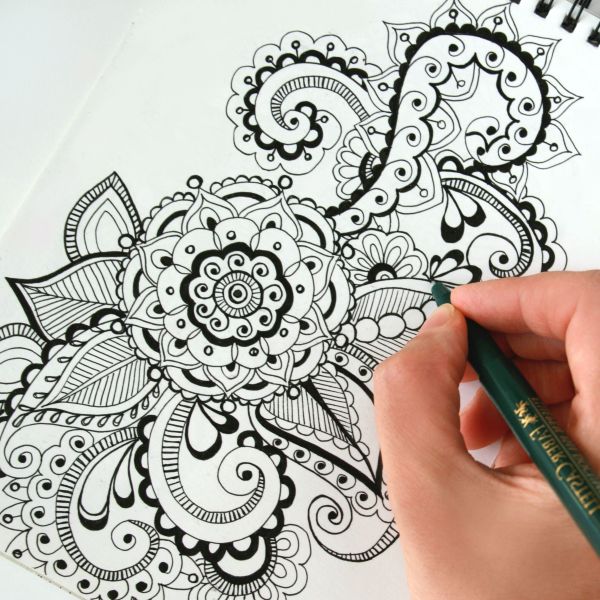
Materials
Keep your tools simple and easy to control:
- Pencil — for light sketching and guide lines
- Eraser — to remove guide lines at the end
- Fineliner or pen — for clean final outlines
- Marker (optional) — to emphasize lines or add contrast
- Paper or sketchbook
Step-by-Step Drawing Instructions
Steps 1–3: Start from the Center
Use your first set of images to build the base of the flower.
- Draw a large circle as your main guide
- Add light center guidelines to help with spacing
- Create a small spiral in the middle
- Surround it with small rounded shapes to form the core
At this stage, keep everything light and simple. This is your structure.
*Tip: If you want a more even and balanced base, you can use a compass to draw your circle.
If you prefer a more relaxed, hand-drawn style, sketch the circle freely. Both options work — the key is to keep your petals evenly spaced so the pattern flows naturally.

Steps 4–6: Add the First Petals
Follow your next images to begin shaping the flower.
- Draw three main petals coming out from the center
- Space them evenly around the circle
- Add curved inner lines inside each petal
These inner lines give the petals movement and help create that soft flow effect.

Steps 7–9: Build the Second Layer
Now your flower starts to expand.
- Complete the inner details of all three petals
- Check that the spacing feels balanced
- Add new petals in between the first ones
You are filling the gaps while keeping the rhythm of the design.

Steps 10–12: Complete and Refine
Use your final images to finish the flower.
- Continue adding petals until the shape feels full
- Adjust curves and connections between petals
- Refine the outline and darken your final lines
- Erase any guide lines
This step is about smoothing everything out and making the flower look complete.

By following your step-by-step images, you create a layered floral pattern that feels balanced and fluid. This method is easy to repeat and perfect for building more complex designs later on.
Take a Moment to Enjoy the Process
Let this be a relaxing exercise. Move slowly, enjoy each line, and allow the pattern to grow naturally. You don’t need to rush or aim for perfection — the beauty of this floral design comes from its flow.
You can draw just one flower as a small decorative element on a postcard or in a corner of your page. Or you can repeat the pattern and fill the entire page with flowing flowers, creating a calm and cohesive design across the whole space.