If you want steadier lines, better spacing, and more control in your doodles, the Auring technique is one of the best places to start.
Auring may look simple — but it builds the foundation for confident drawing.
In this tutorial, you’ll learn:
• What Auring is
• Why it improves your line control
• How to practice it step-by-step
• Common mistakes to avoid
• How to use it in real designs
Let’s begin.
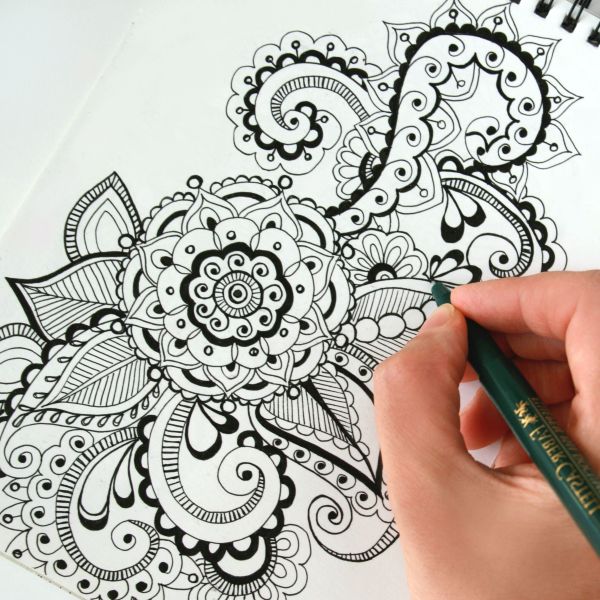
What Is Auring?
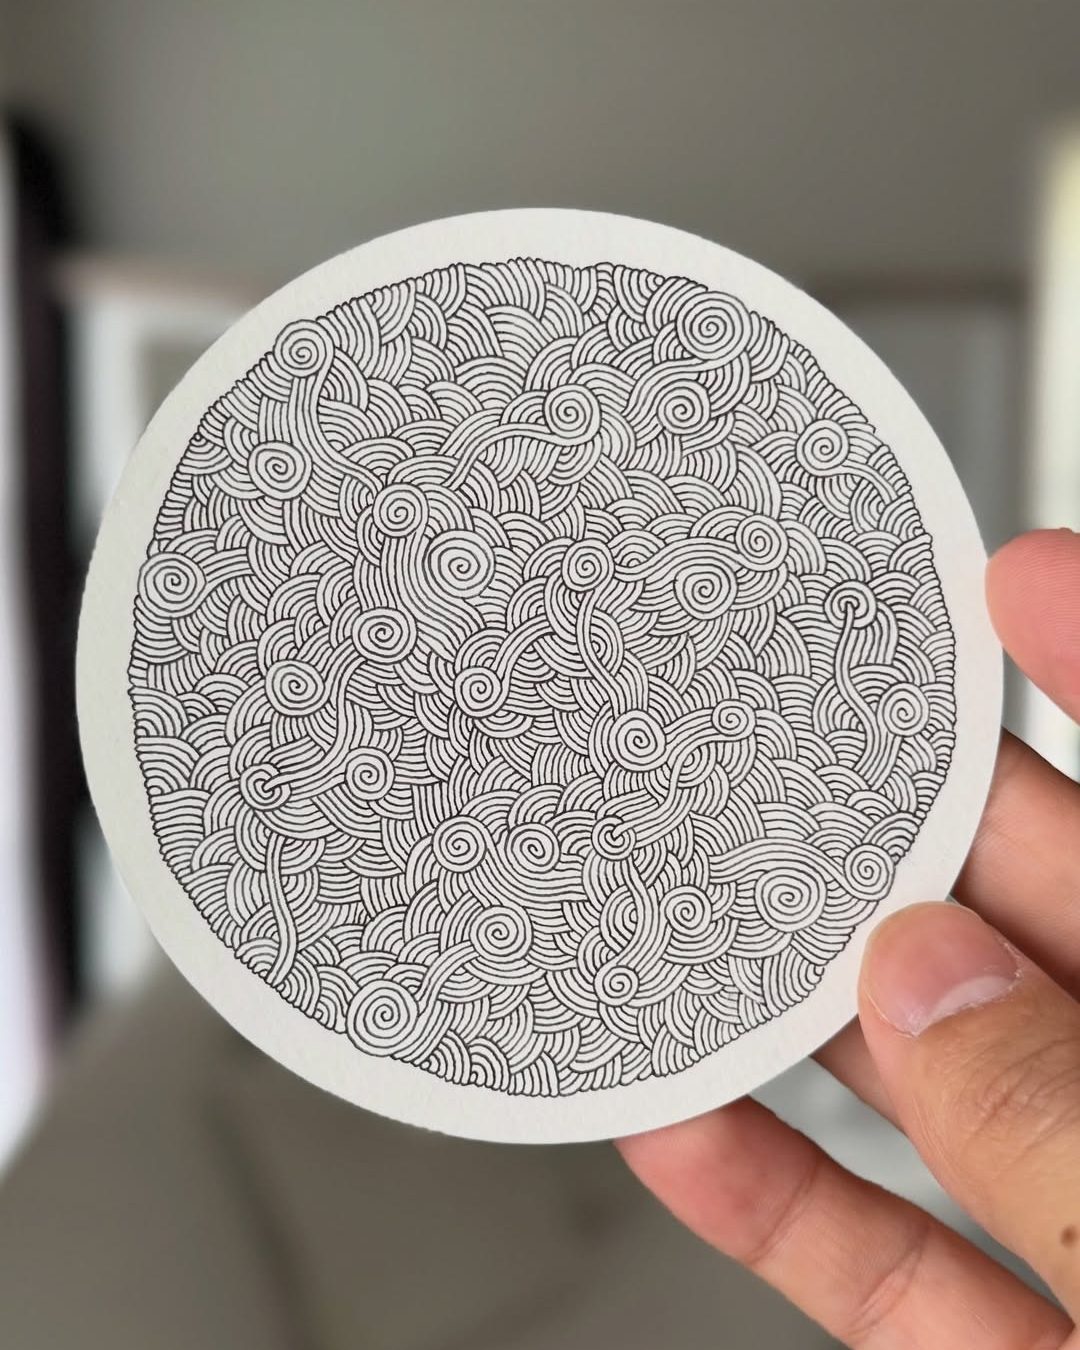
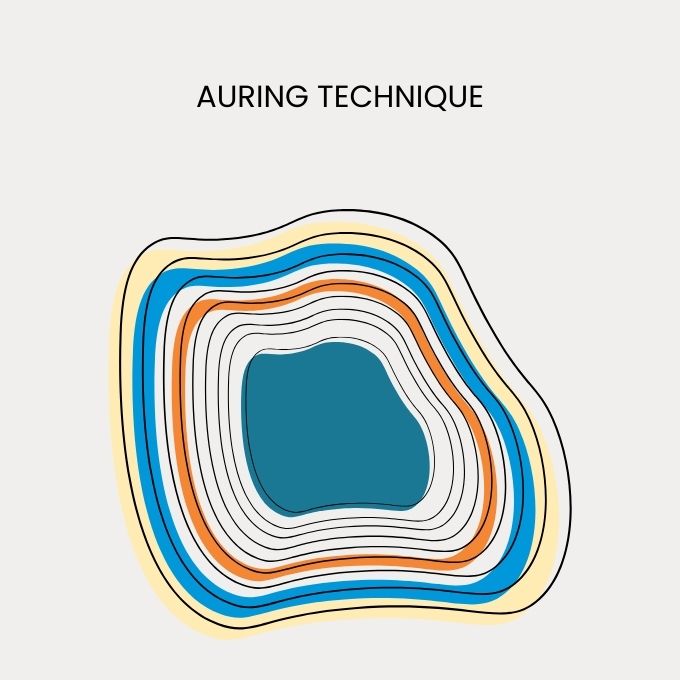
Auring is the technique of drawing a line that closely follows an existing line or shape while keeping a small, consistent space between them.
Think of it like creating a soft echo or ripple around your original line.
Instead of drawing something new, you are repeating the shape — carefully and evenly.
That repetition is what trains your hand.
Why Auring Is So Powerful
Many beginners focus on complex patterns. But strong drawing skills come from mastering simple lines.
Auring helps you:
• Build muscle memory
• Improve spacing consistency
• Develop smoother curves
• Increase hand steadiness
• Create depth in simple shapes
The more you practice it, the more confident your lines will feel.
Step-by-Step: How to Practice Auring
Step 1: Start with a Simple Shape
Draw a circle or curved line. Keep it light and smooth.
Step 2: Follow the Shape
Slowly draw another line around it, keeping an even distance between the lines. Do not rush.
Step 3: Focus on Spacing
Try to maintain consistent spacing. If the gap widens or narrows slightly, that’s okay — just keep moving confidently.
Step 4: Repeat with Different Forms
Practice around:
- Circles
- Organic blob shapes
- Wavy lines
- Corners
- Rectangles
Each type of line trains your control differently.
The Secret to Clean Auras
The key is rhythm, not perfection.
Instead of stopping and correcting every wobble, keep your stroke fluid.
Tips for smoother auras:
• Rotate your paper instead of twisting your wrist
• Move from your shoulder for longer curves
• Slow down on corners
• Breathe while drawing (yes, it helps)
Confidence improves consistency.
")
Common Auring Mistakes
Here are a few things to watch for:
Drawing too fast
Fast lines create uneven spacing.
Pressing too hard
Heavy pressure makes correction harder.
Overthinking every millimeter
Small imperfections are normal. Focus on flow.
Stopping mid-line
Continuous movement creates smoother results.
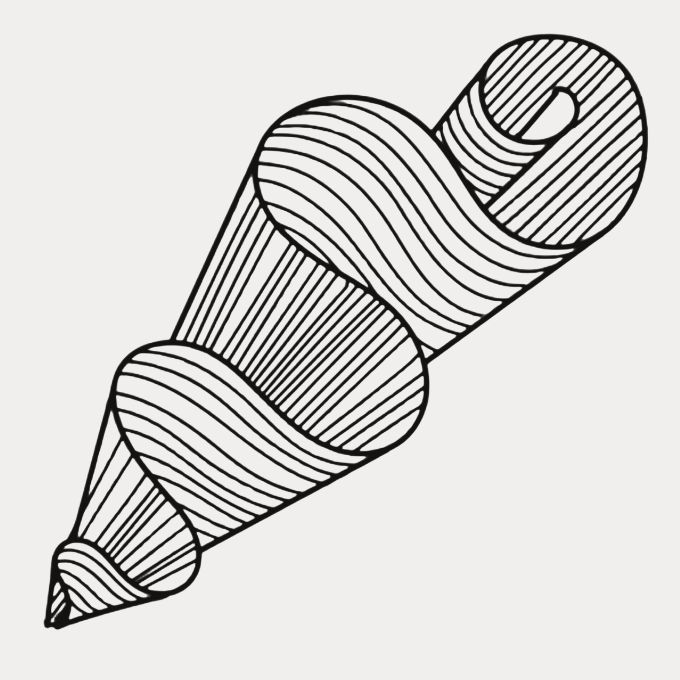
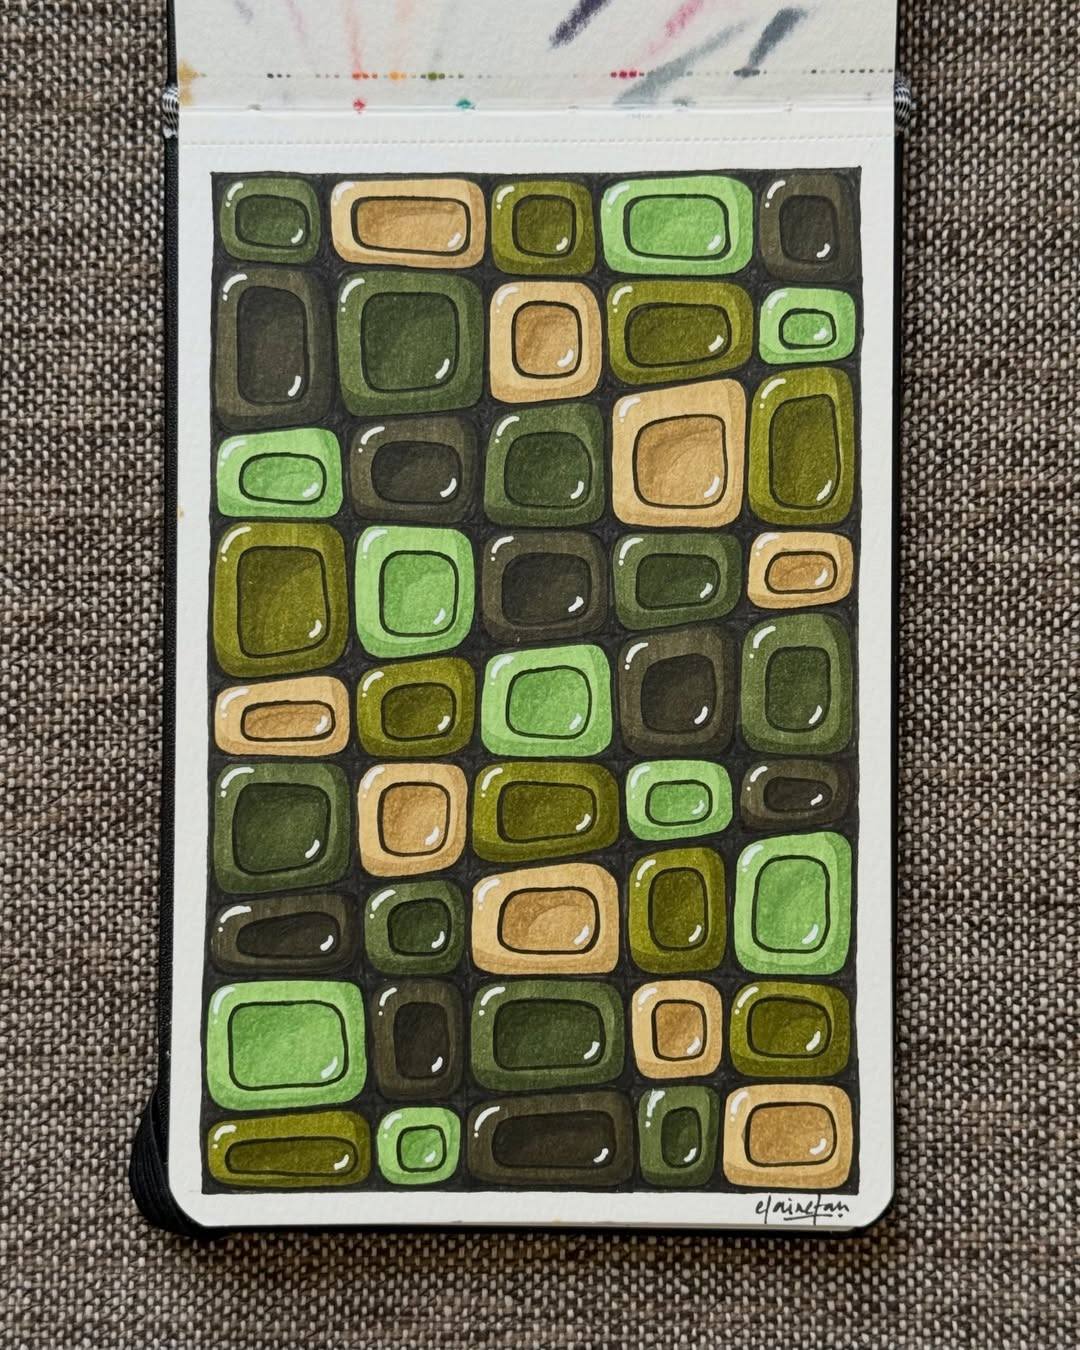
How Auring Adds Depth to Your Designs
Auring isn’t just practice — it’s a design tool.
You can use it to:
• Create layered borders
• Add dimension to shapes
• Build petal structures
• Enhance organic patterns
• Make simple shapes look detailed
When combined with shading, Auring makes flat shapes feel dimensional.
")
See the Ravel pattern tutorial here & See Diva Dance Tutorial here
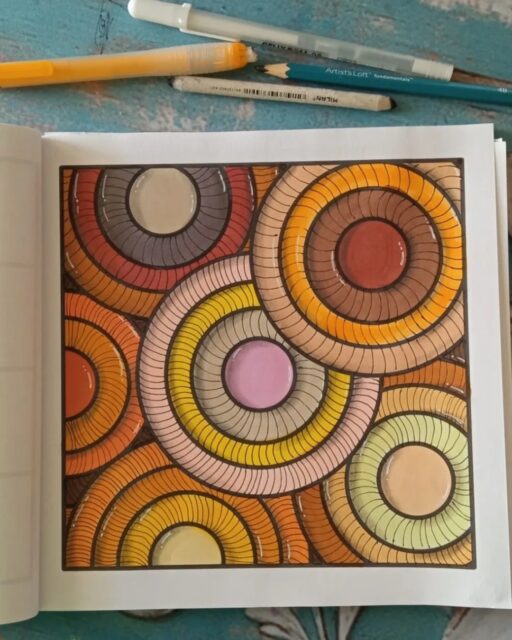
Try This Mini Exercise
- Draw one circle.
- Add three aura lines around it.
- Add shading between two of the lines.
- Observe how it instantly gains depth.
Simple lines → layered structure → dimensional look.
That’s the power of Auring.
Practice with Structured Grid Pages
If you’d like guided practice, we created structured grid worksheets where you can trace circles, waves, corners, and organic forms to build steady spacing and muscle memory.
Download the printable practice pages and start training your line control today.
What to Explore Next
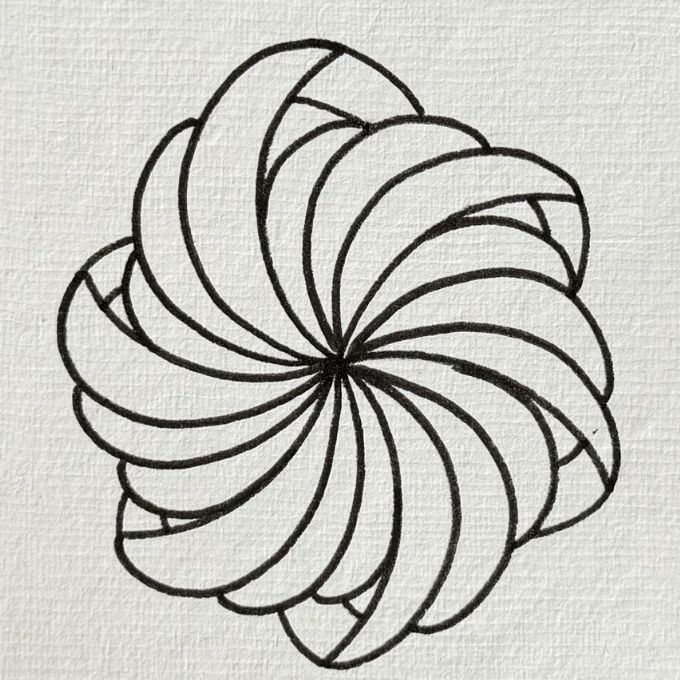
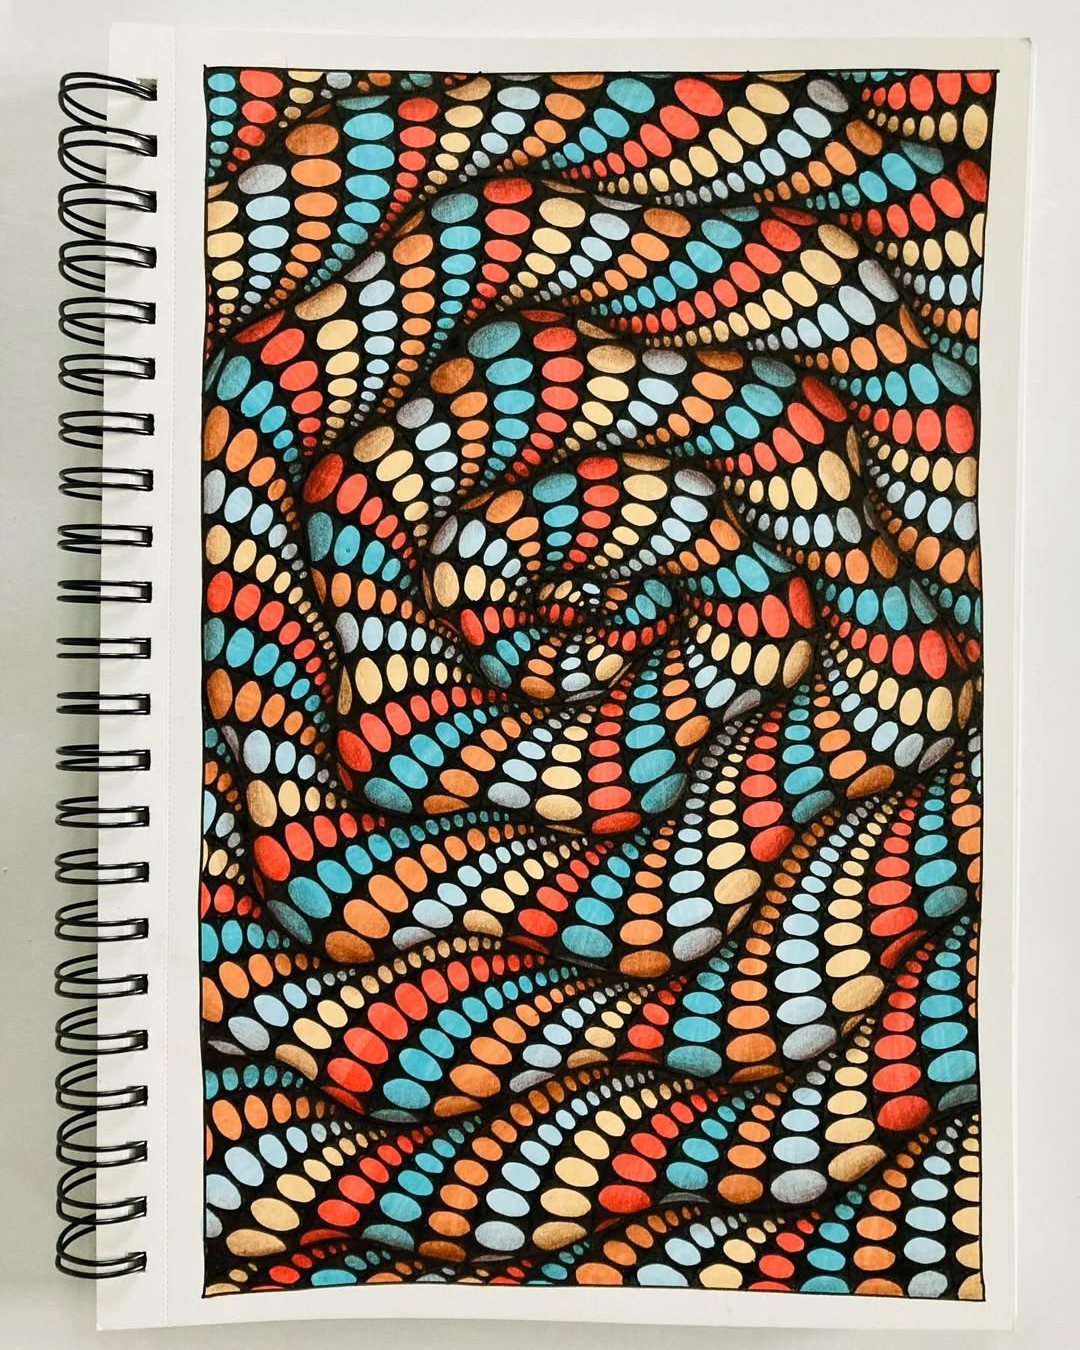
Once you feel comfortable with Auring, the next technique to explore is Tethered Auras.
Unlike a regular aura that floats around a shape, a tethered aura connects at both ends. This creates a structured, pod-like form and becomes the foundation of the Ravel pattern.
Here’s a simple preview of how a tethered aura works:
See the Ravel pattern tutorial here
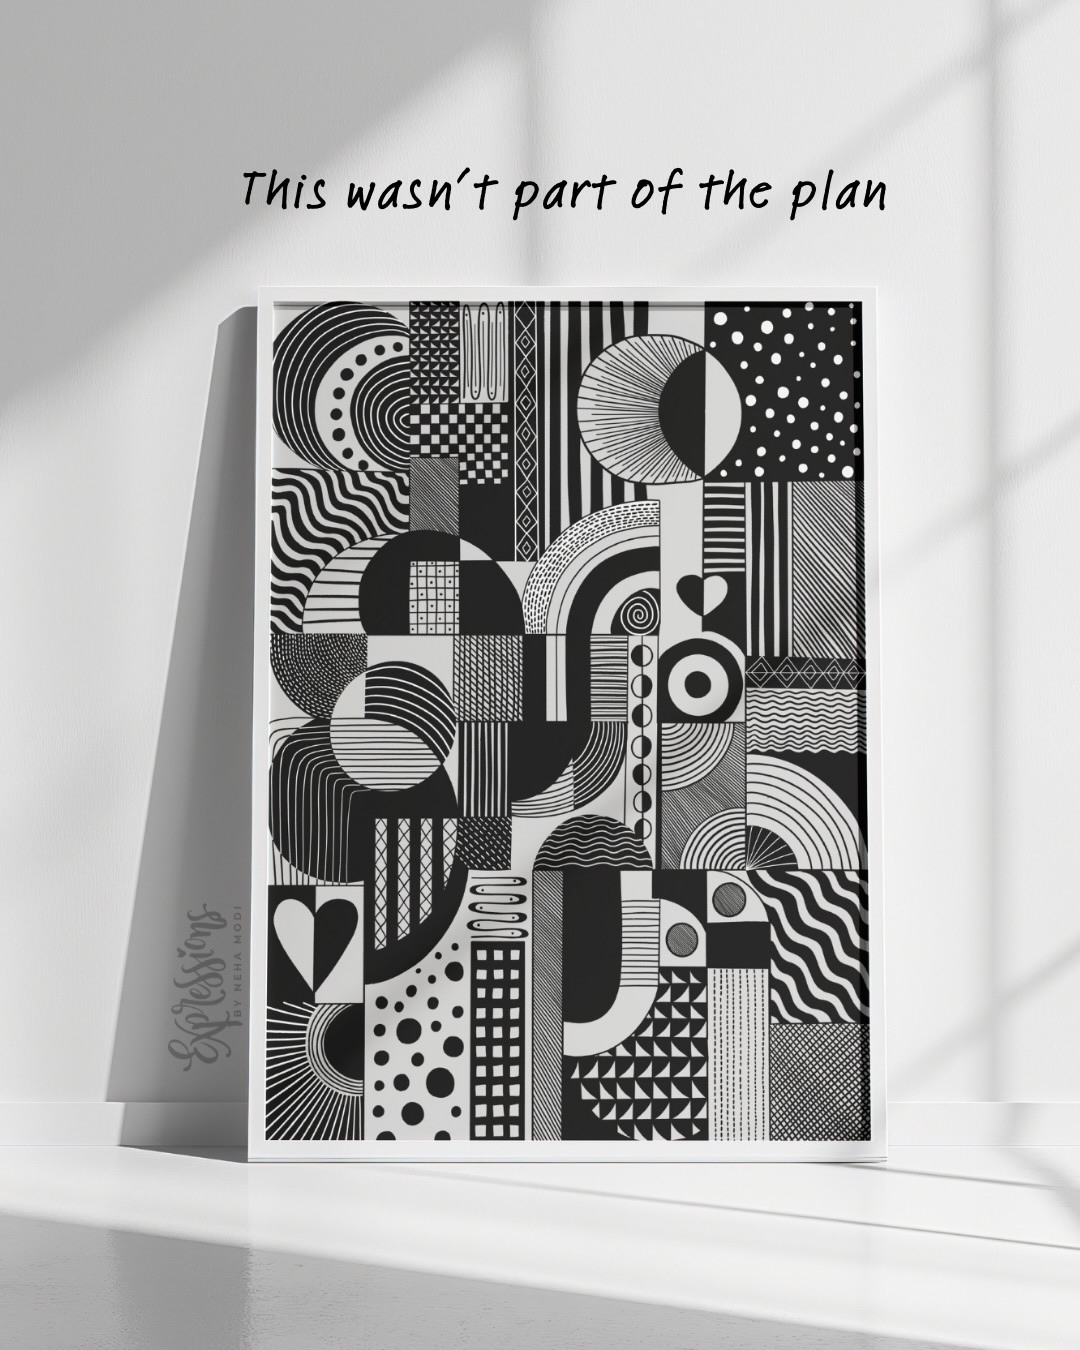
Or explore bold contrast next: