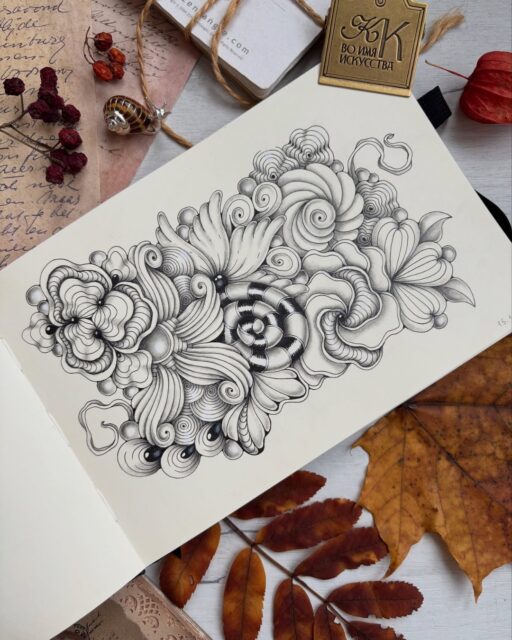
One of the questions I get most often is what supplies I use in my drawing videos. The good news? You really don’t need much to start doodling. A pen, some paper, and a regular pencil are enough. Here are the materials I actually reach for, what I recommend to beginners, and a few tricks I’ve learned along the way.
1. Pens: Start With a Few Different Sizes
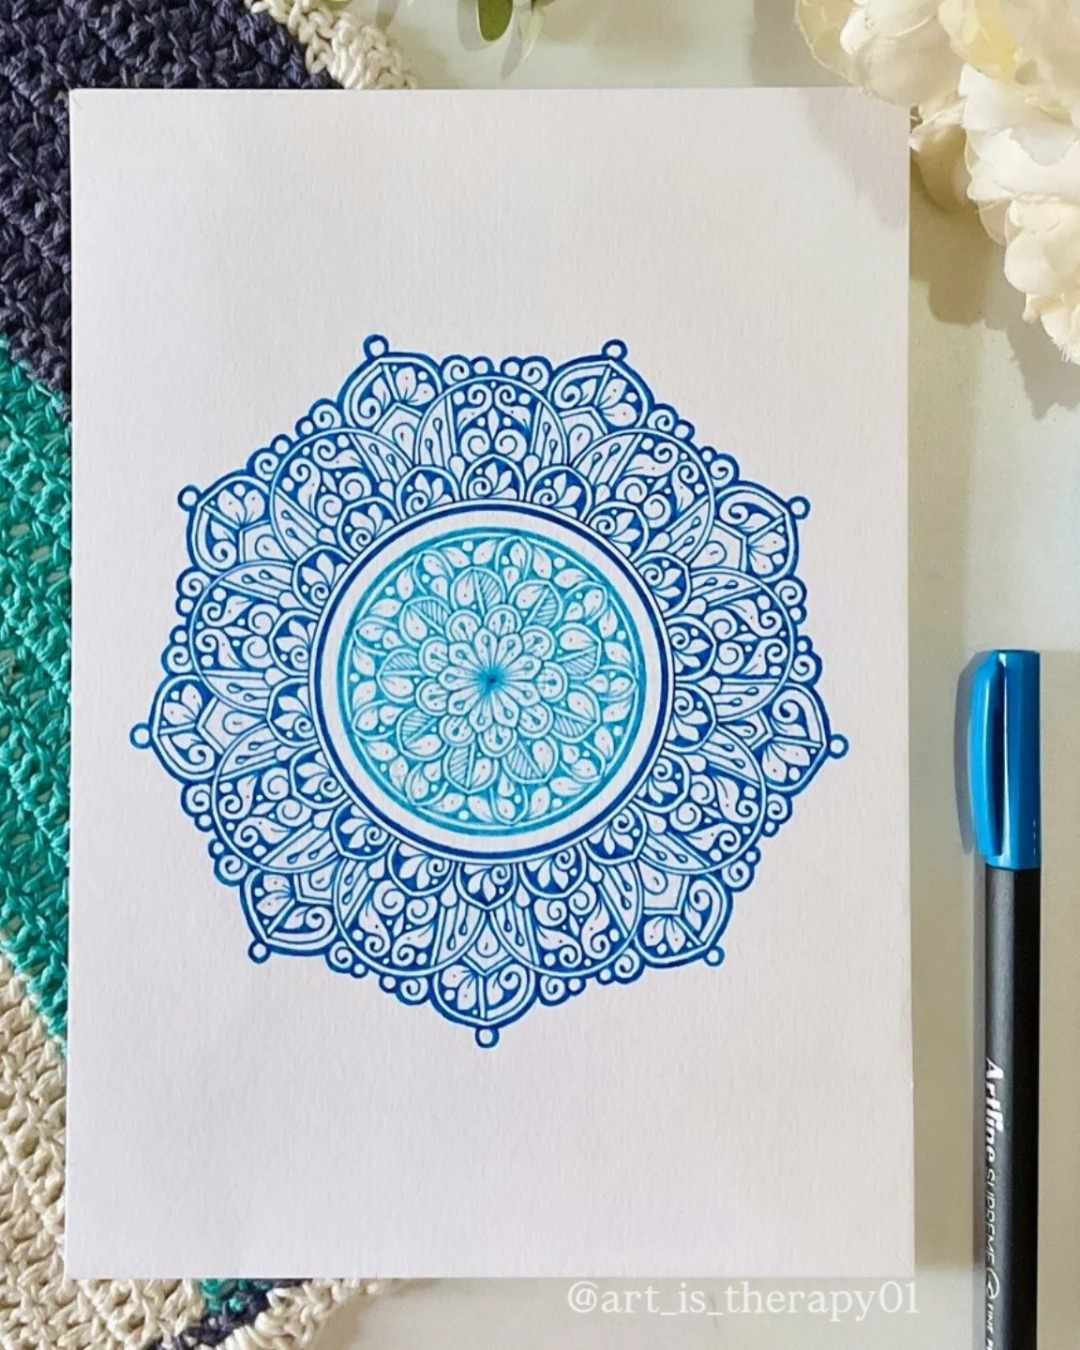
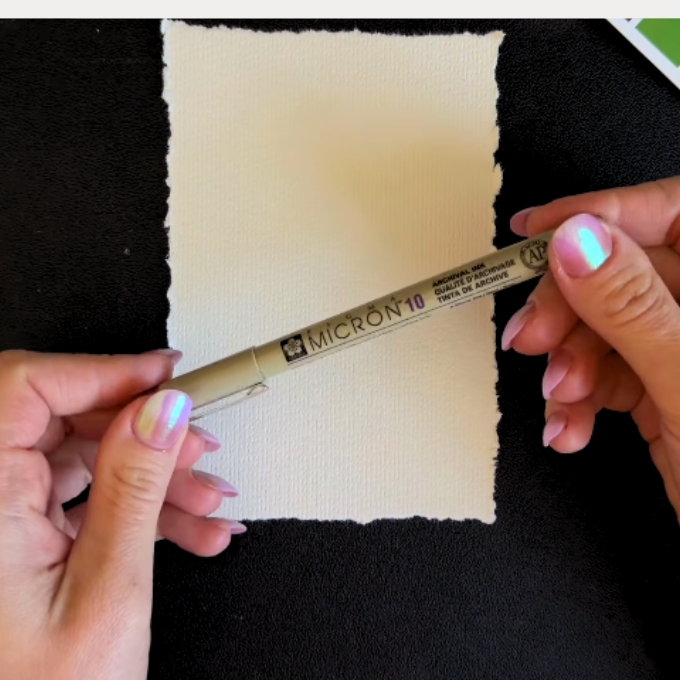
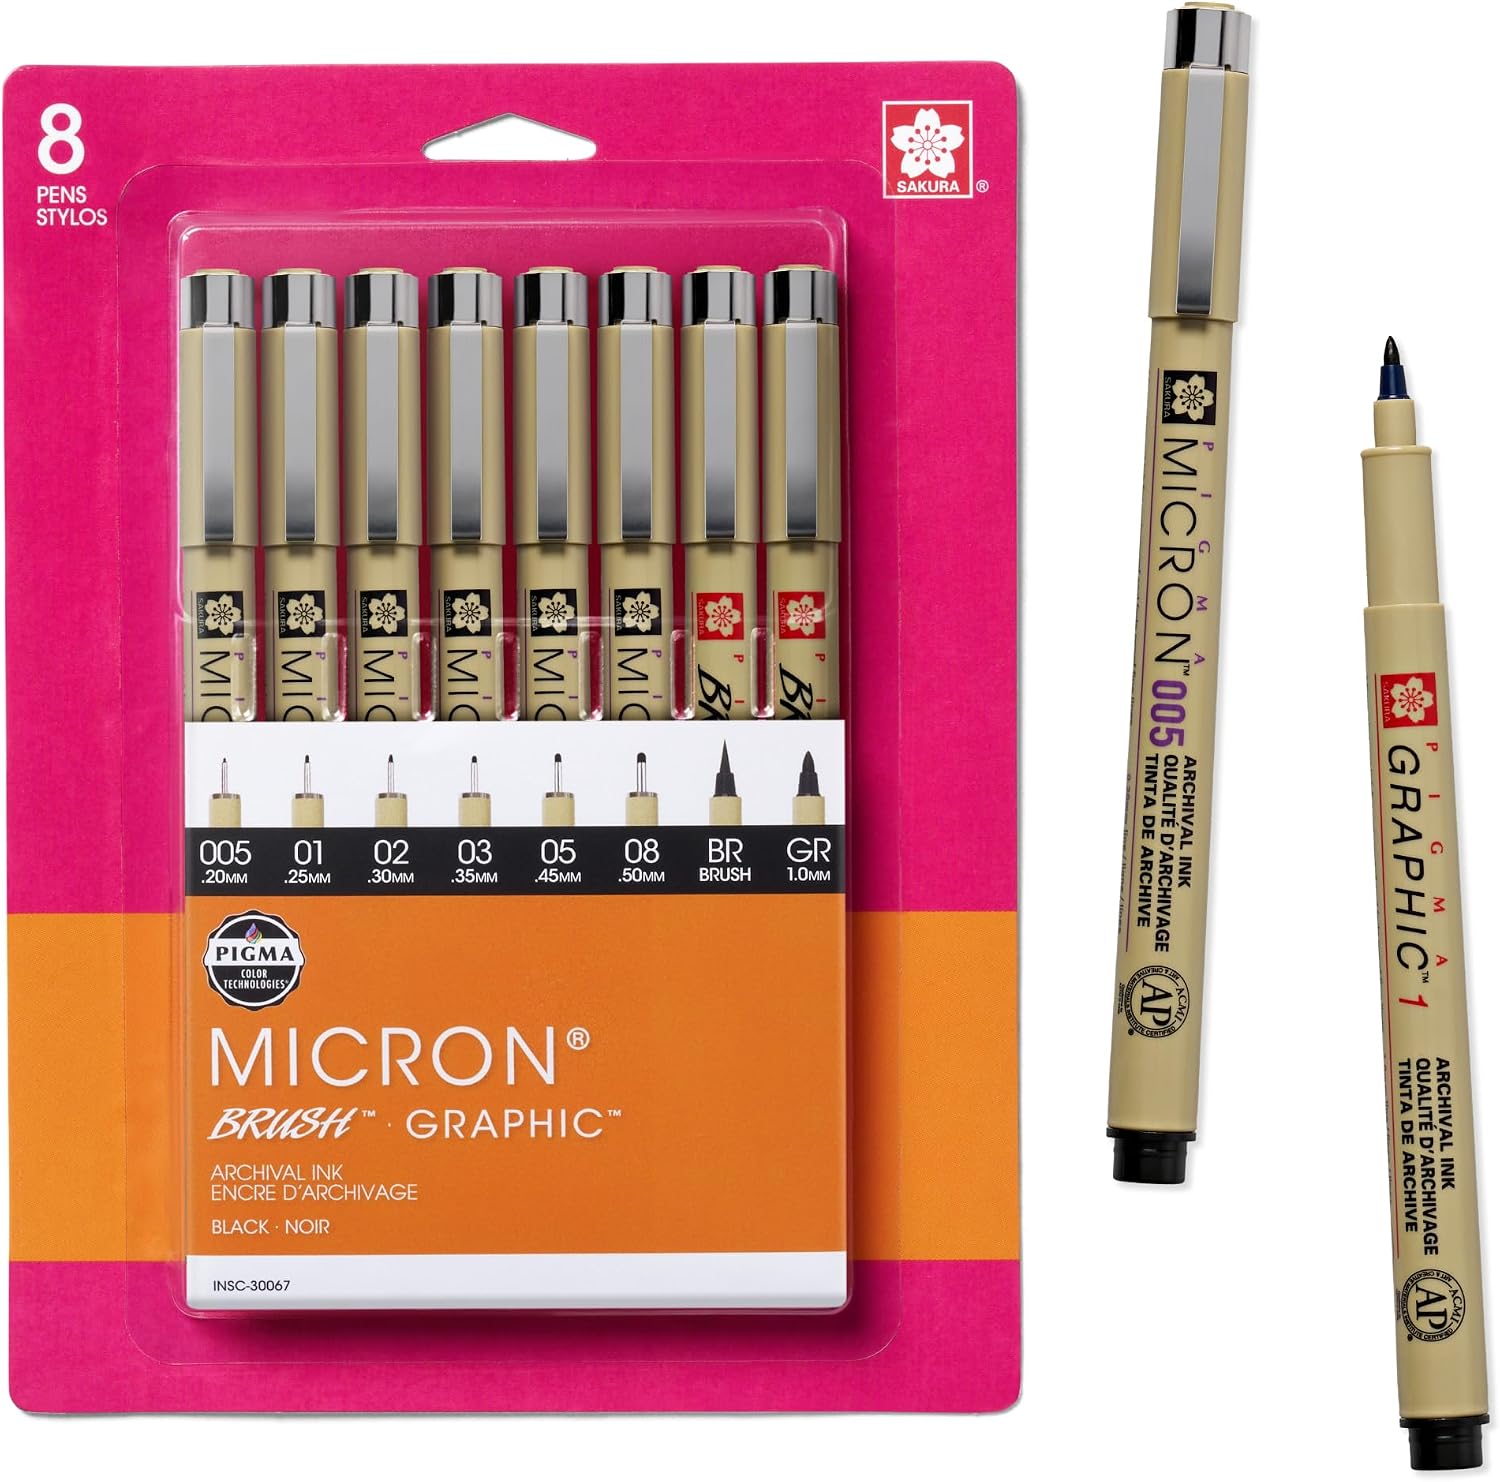
I love Sakura Pigma Micron pens. In videos, I often use size 10 because the bold lines are easier to see on camera. For my own drawing, my essential sizes are 01, 05, and 08. The smaller tips work well for tiny details; larger tips create stronger, bolder lines.
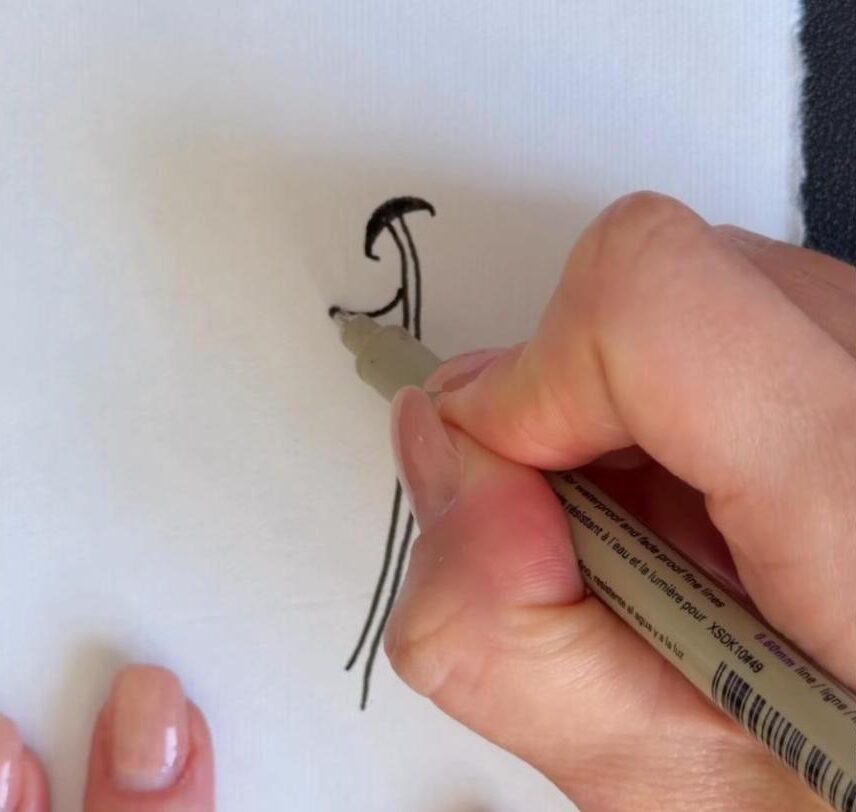
If you’re buying just one pen, I’d start with Micron 05. It’s also my favorite size for the tracing exercises in our workbooks and free printable worksheets. If your budget allows, try a small set with different tip sizes. Draw the same pattern with each one and see which feels right to you.
I also love Winsor & Newton fineliners, another brand you’ll often spot in my videos. You don’t need both brands to begin. Choose a pen that feels comfortable and start practicing.
One fun experiment: with a Micron 10, try varying your touch and the angle of the pen to make a line feel more organic. Begin gently, and don’t force or bend the nib. These are firm fineliners, not flexible brush pens.
2. Paper: What I Recommend vs. What You See in My Videos
For everyday doodling, I recommend smooth hot-pressed watercolor paper. Its smoother surface is especially nice for clean fineliner lines and small details. But please don’t feel you need fancy paper to begin. A regular notebook or sketchbook is absolutely fine.
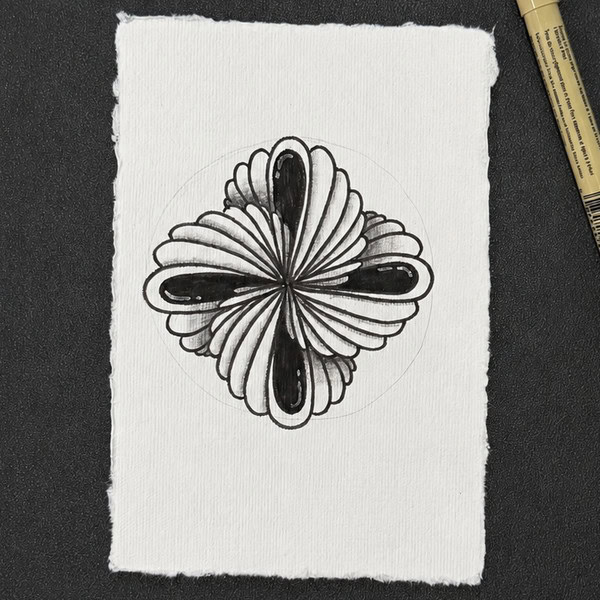
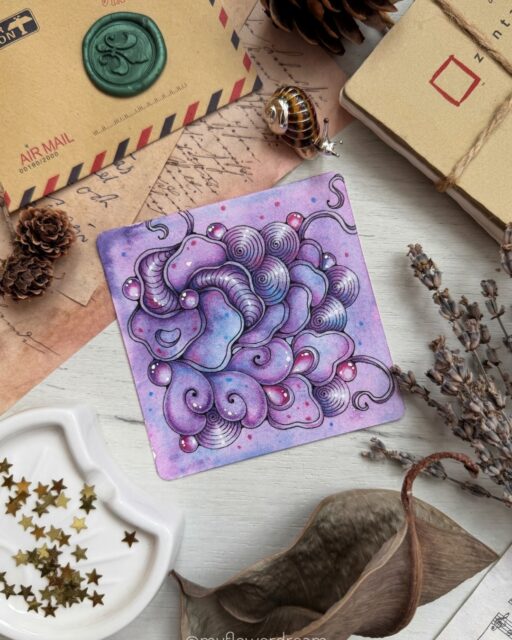
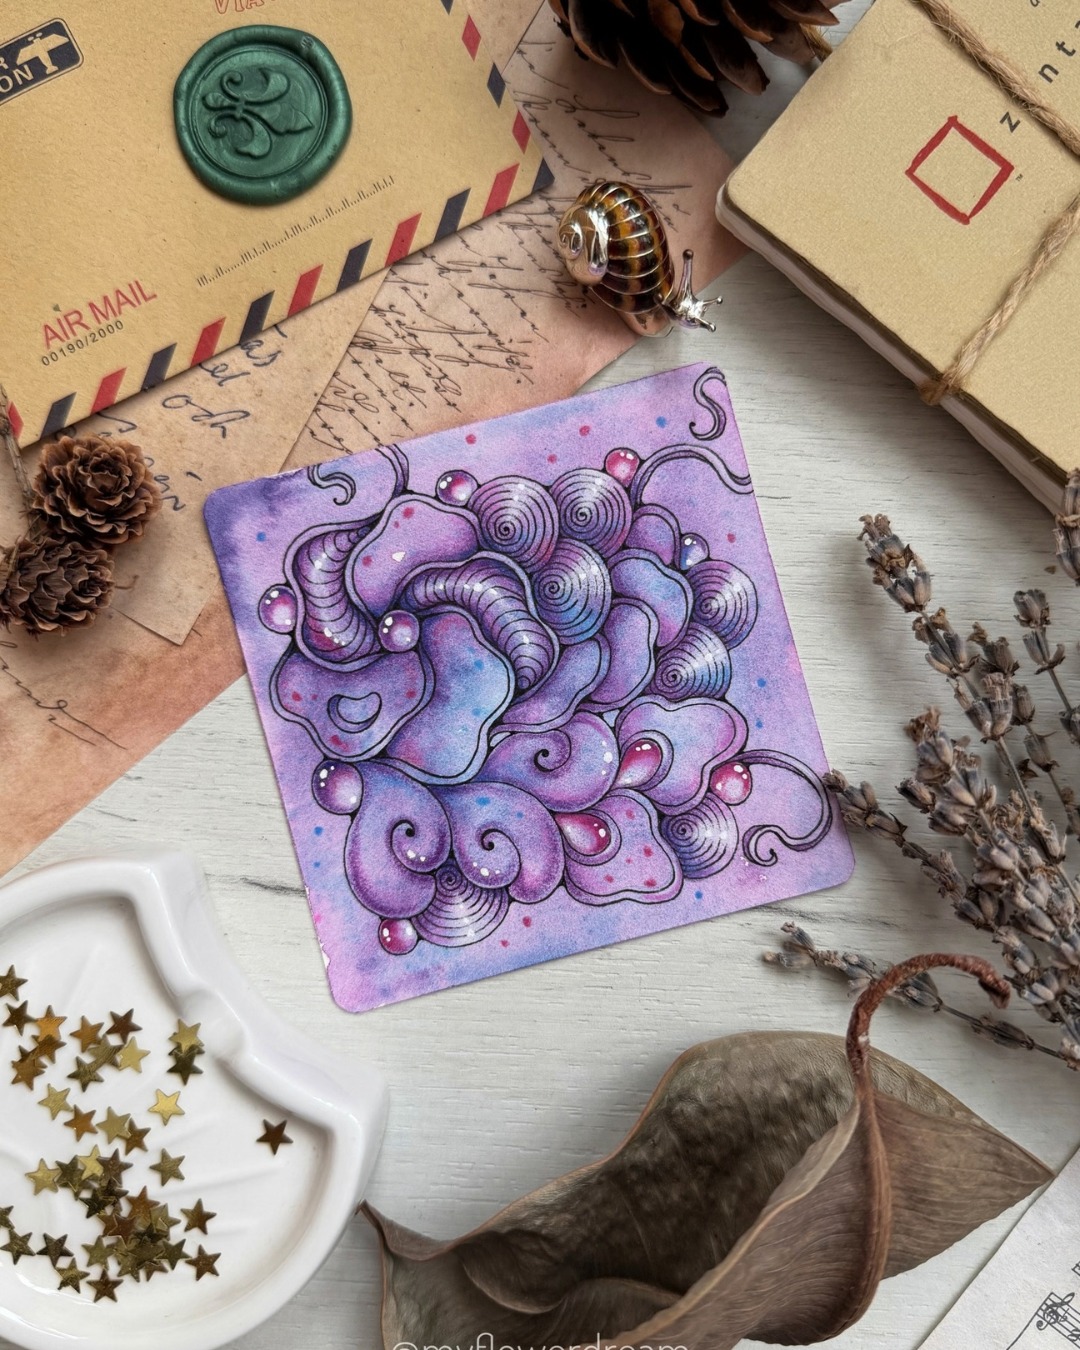
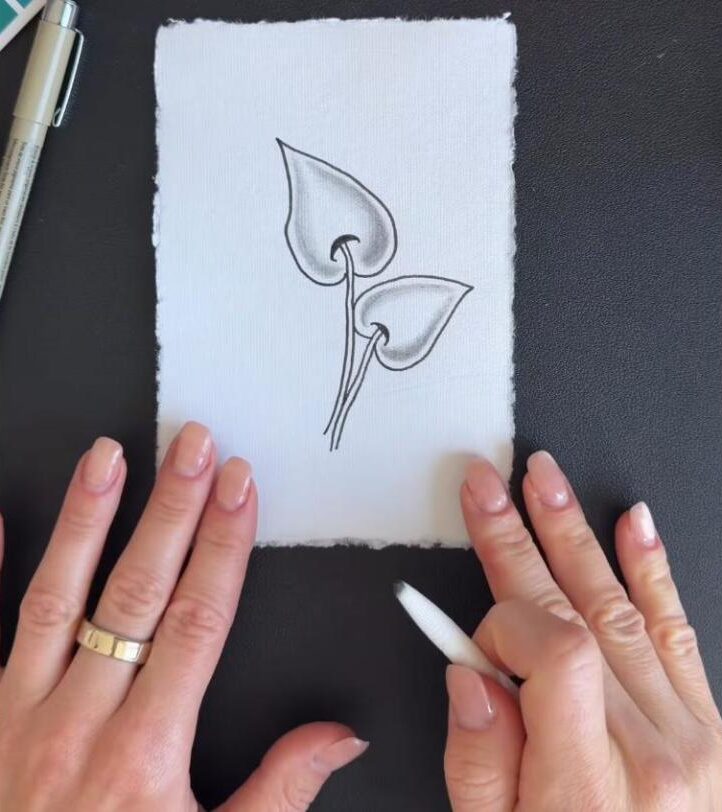
The beautiful paper with torn-looking edges in my videos is different. It’s LEATHER VILLAGE watercolor paper, 4 × 6 inches, 150 GSM, with deckled edges. I love its soft, handmade look. But it has a drawback: the surface is delicate and doesn’t tolerate much erasing. Keep your pencil guidelines extremely light if you use it.
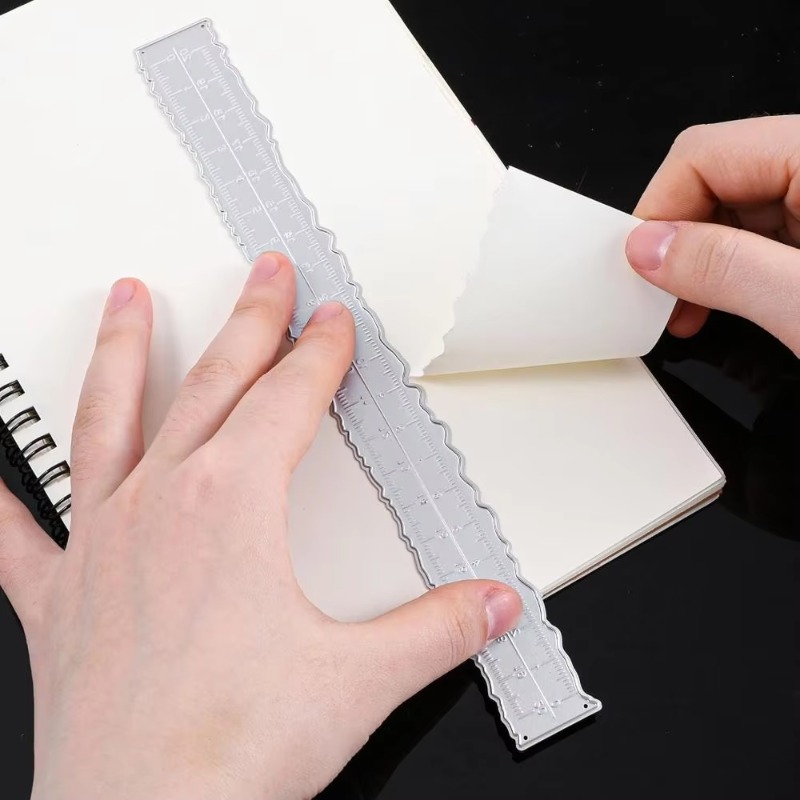
You can find similar deckled-edge paper on Amazon, Temu, or AliExpress, although quality varies. Another option is to buy larger sheets of hot-pressed watercolor paper and use a deckle-edge tearing ruler to make your own irregular edges. Practice on a spare sheet first, particularly with heavier paper.
3. Pencils: My Unexpected Shading Trick
For light sketching, an ordinary HB pencil is enough. Keep your guidelines barely visible, especially if you’ll ink over them later.
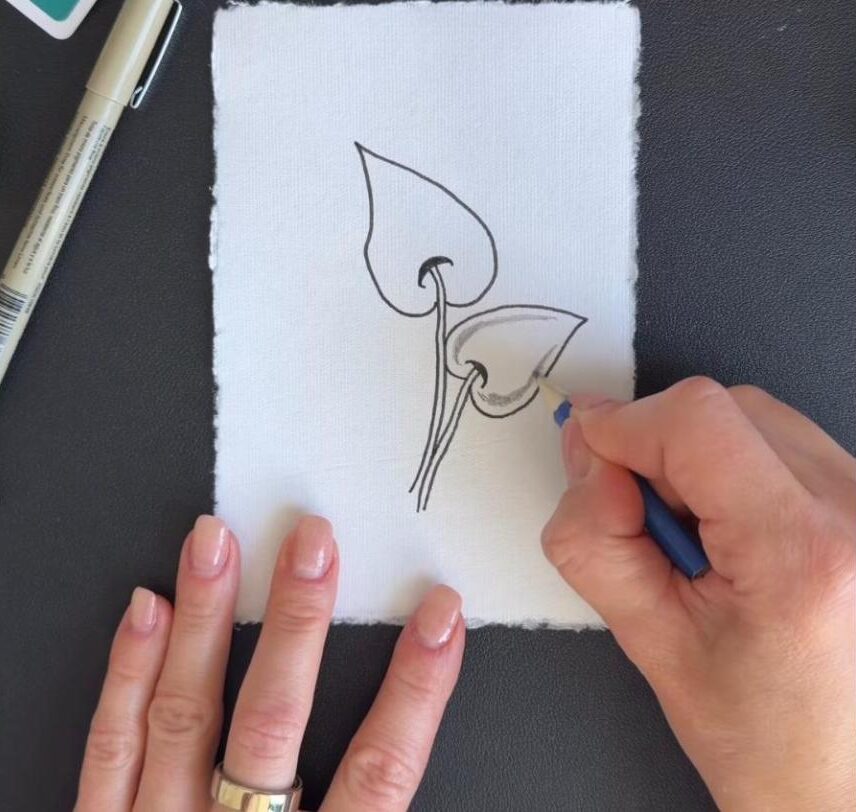
Here’s my little trick: I like working with a very short pencil, about one-third the length of a regular one. It’s not about saving money! A short pencil sits in my palm and makes it easier to shade with the side of the graphite. I often hold it at a low angle, roughly 15–30 degrees to the paper, for broad, soft shading. Holding the point upright is useful for details, but it won’t give the same gentle shaded effect. You can use a ready-made short pencil rather than cutting one yourself.
4. Eraser: Try a Kneaded Eraser
My recommendation is a kneaded eraser, the soft, stretchy, putty-like kind. You can shape it into a point for small areas or gently press and lift it to lighten graphite without lots of rubbing. It’s especially handy on delicate paper, though no eraser can completely undo a deeply pressed pencil line. Light sketches are your best friend.
5. The “White Pencil” Is Actually a Tortillon
That white pencil-shaped tool you see in my videos isn’t a pencil at all. It’s a tortillon, a tightly rolled paper blending tool that softens and spreads graphite.
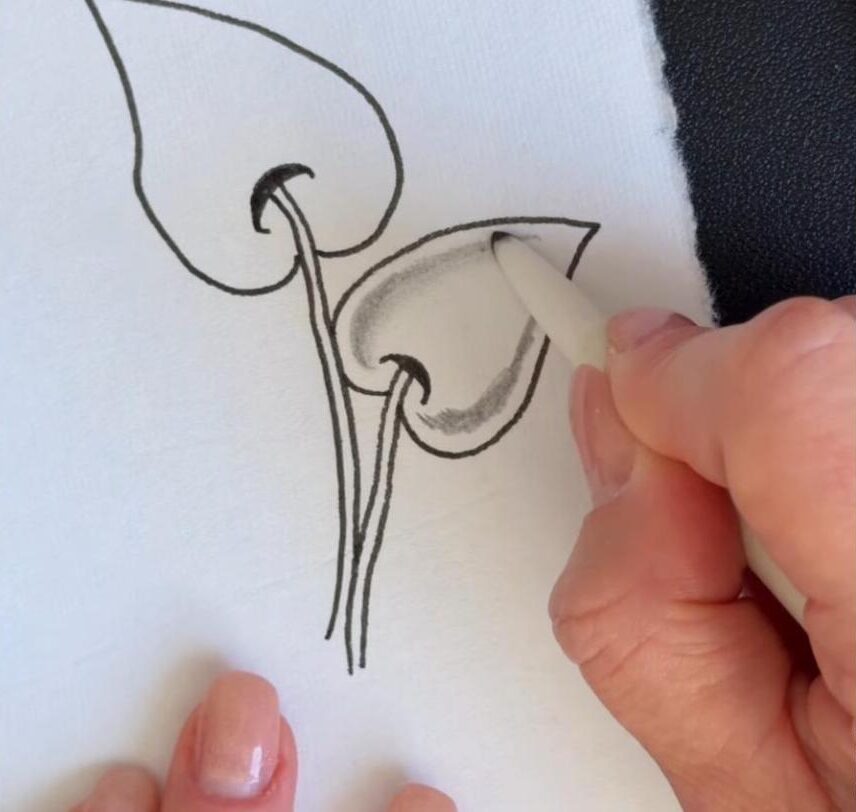
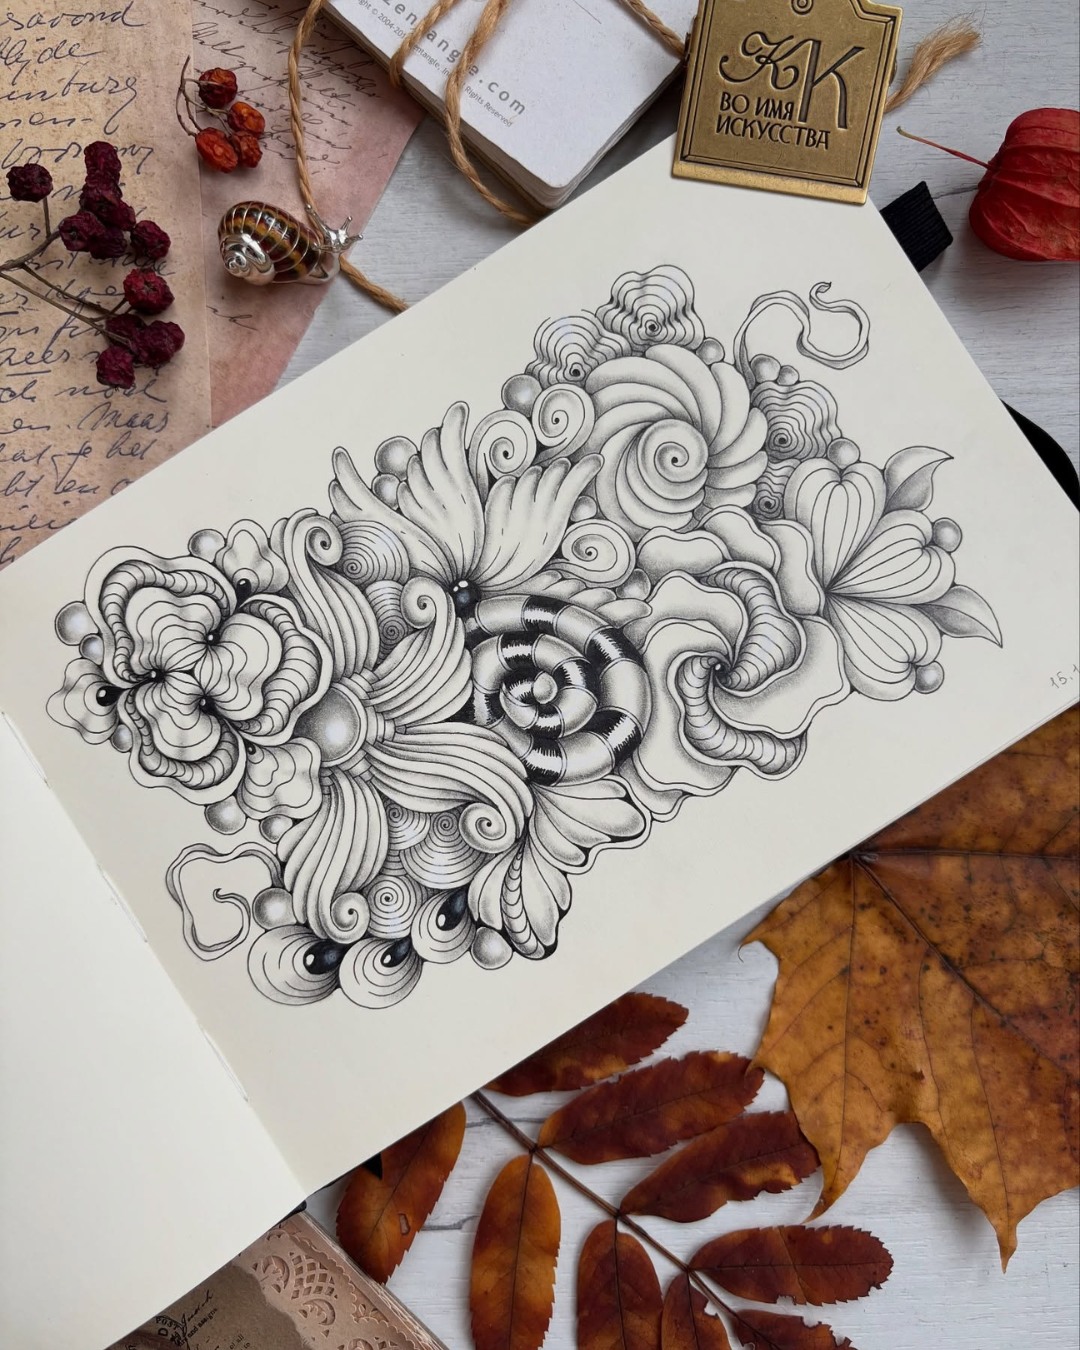
For smooth shading, I use small circular motions, light pressure, and often hold it at about a 30-degree angle. Here’s another favorite trick: a used tortillon already has graphite on its tip. When I want just a whisper of shadow, I sometimes use that leftover graphite without adding any more pencil. Test it on scrap paper first so you don’t accidentally make a dark mark.
6. A Few Optional Extras
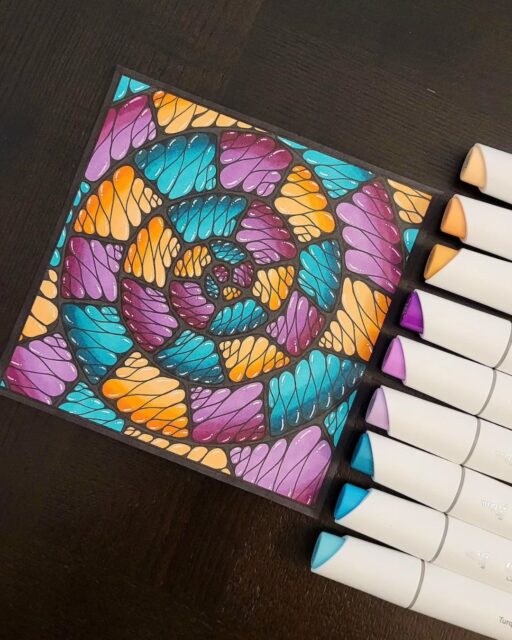
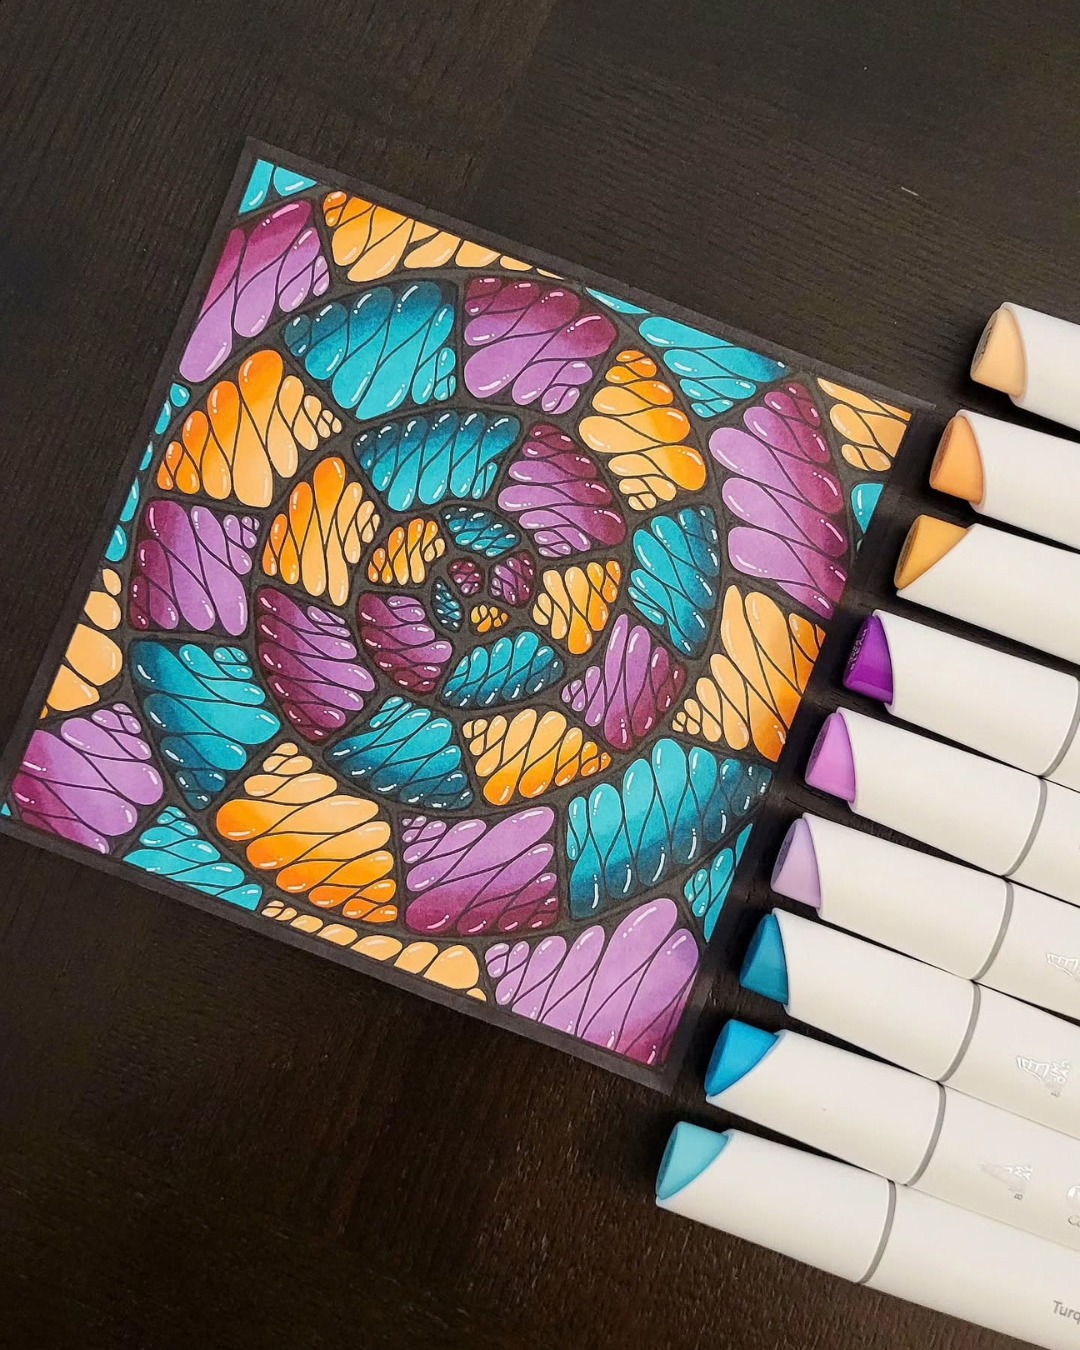
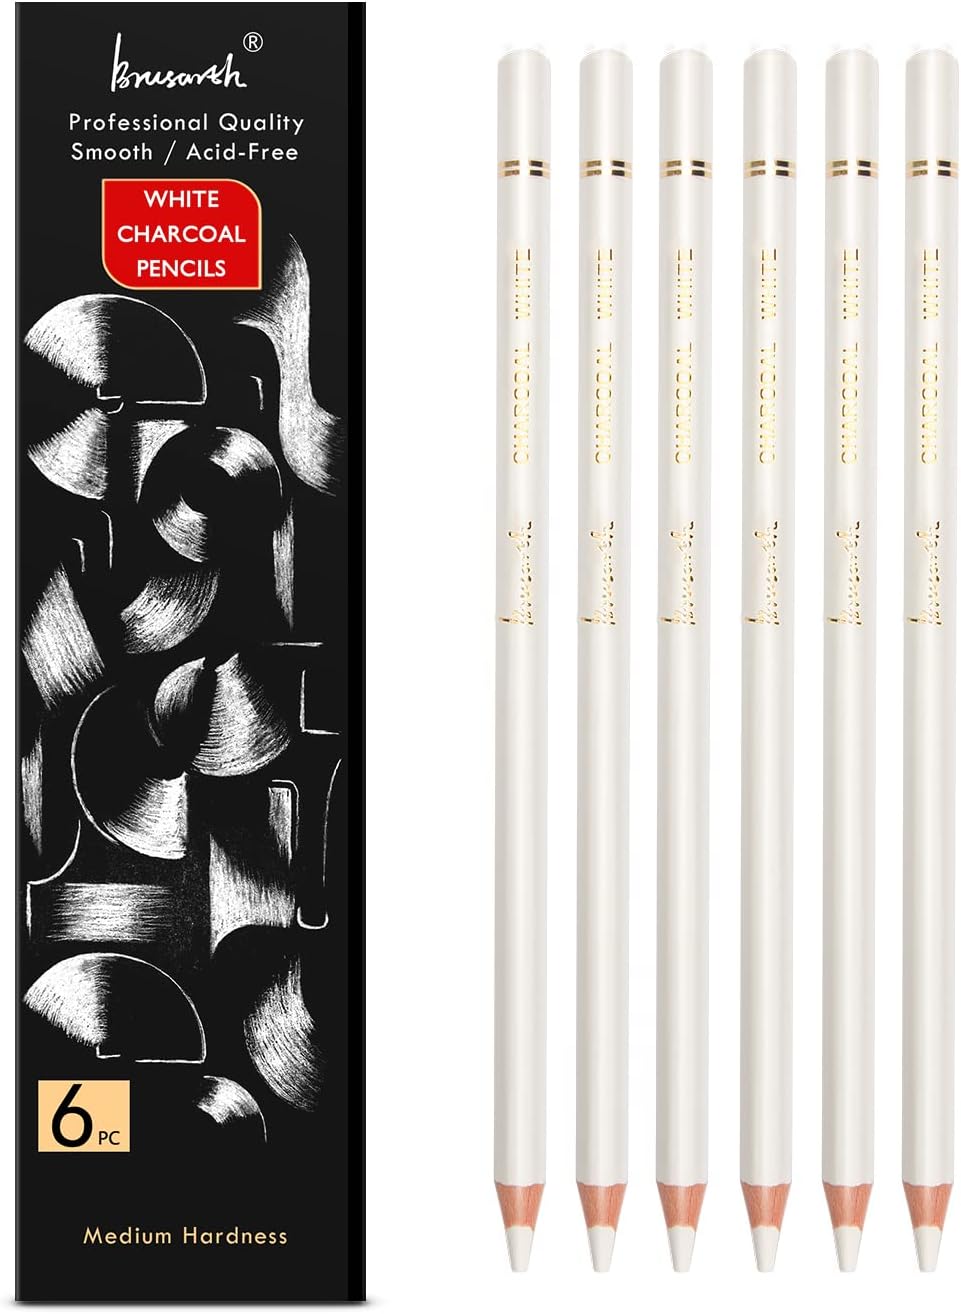
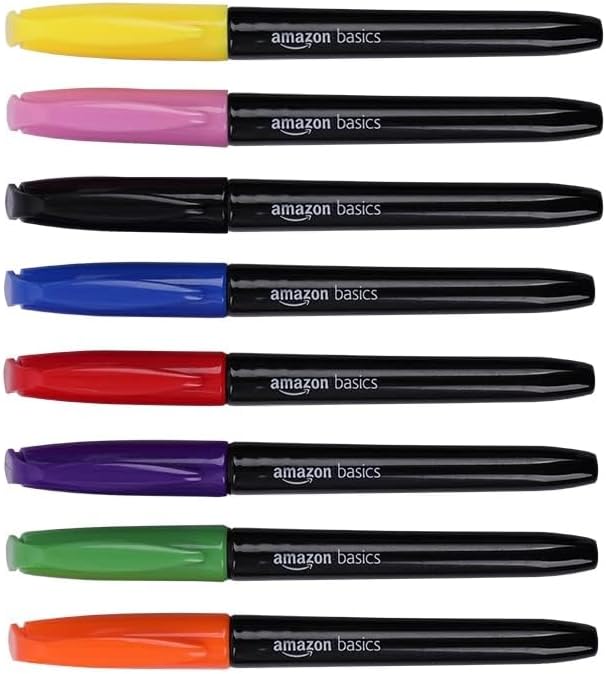
For white highlights and certain shading effects, I sometimes use white charcoal pencils, including Brusarth. And for drawing on fabric, I’ve used the inexpensive Amazon Basics Vibrant Fabric Markers, 8-Pack. Neither is necessary for your first doodle.
7. Which Doodle Art Club Book Should You Start With?
If you want a little structure rather than wondering what to draw next, we’ve created three different ways to learn:
Practice / Tracing Series: A gentle place to start if you want to improve pen control and get comfortable following curves and repeating shapes. I recommend starting with Doodle Art Practice Workbook, Part 1, then moving on to Part 2.
Step-by-Step Series: For learning how patterns are built, one small step at a time. These books include guided lessons, warm-ups, traceable practice, and draw-from-memory exercises, so you can gradually become less dependent on a reference.
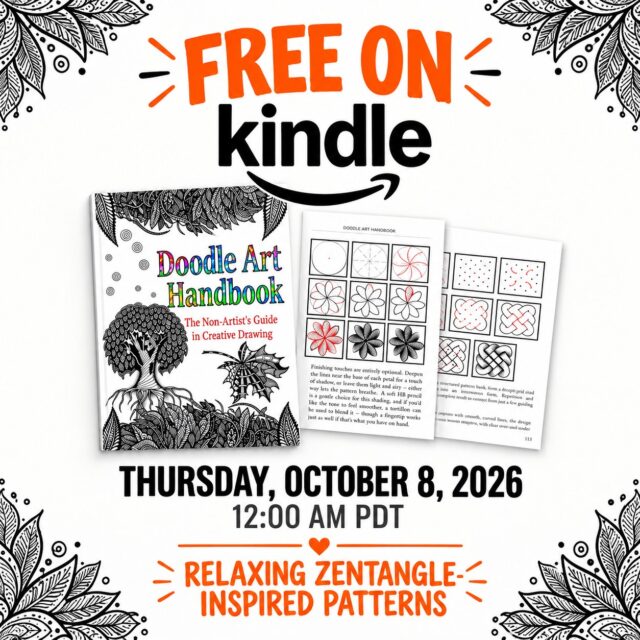
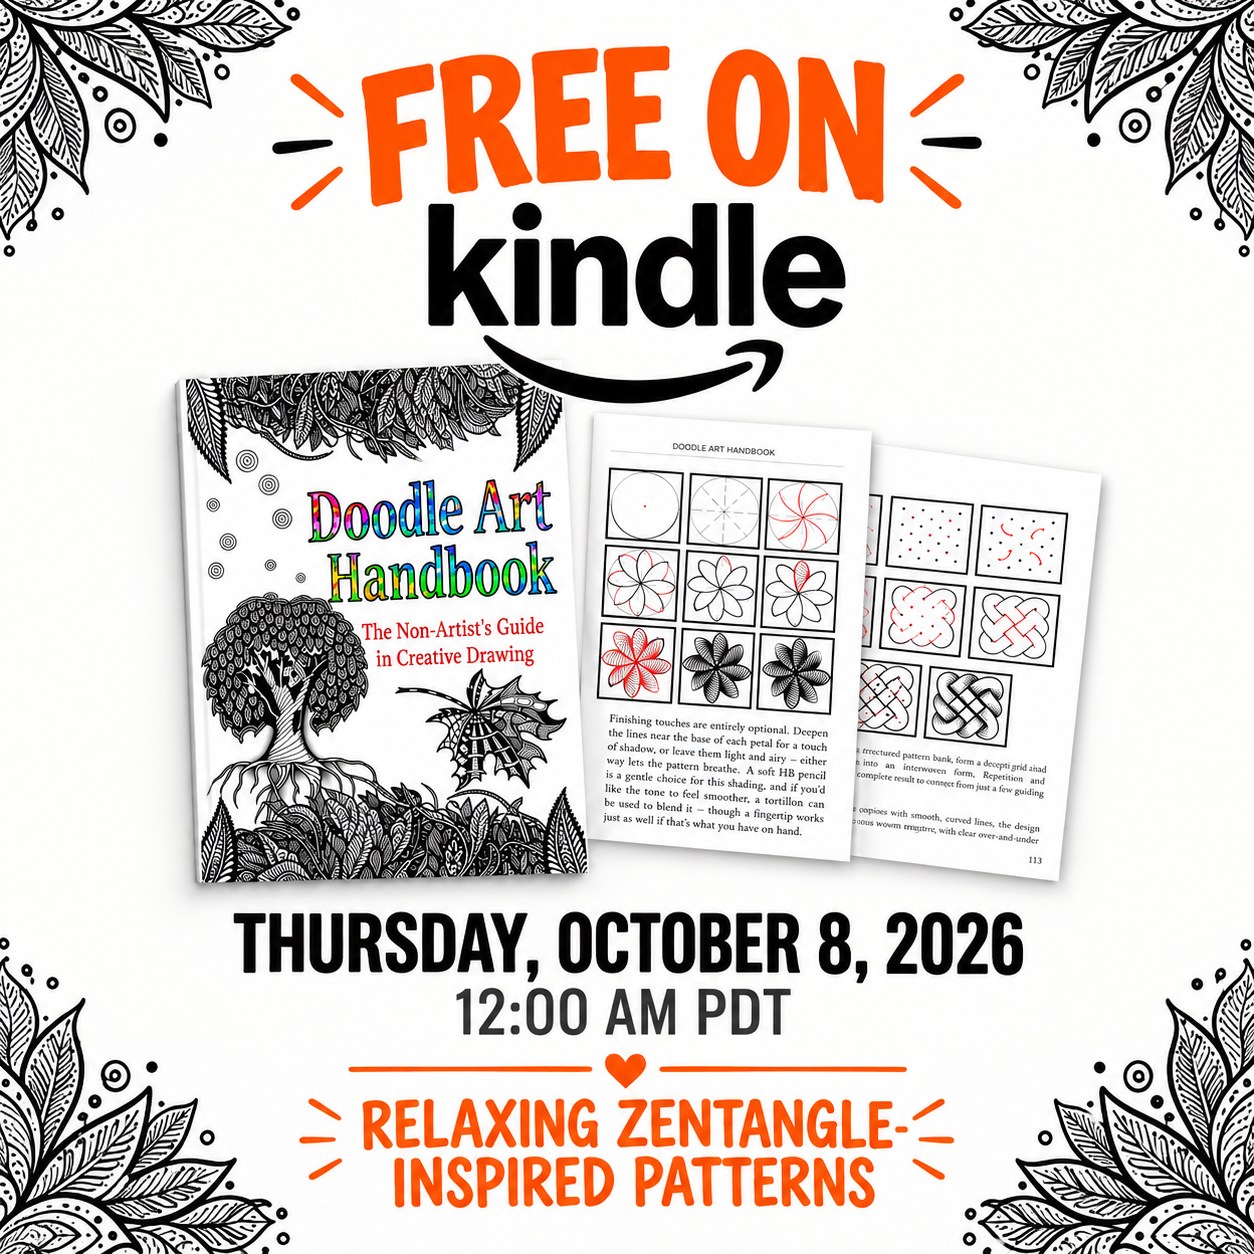
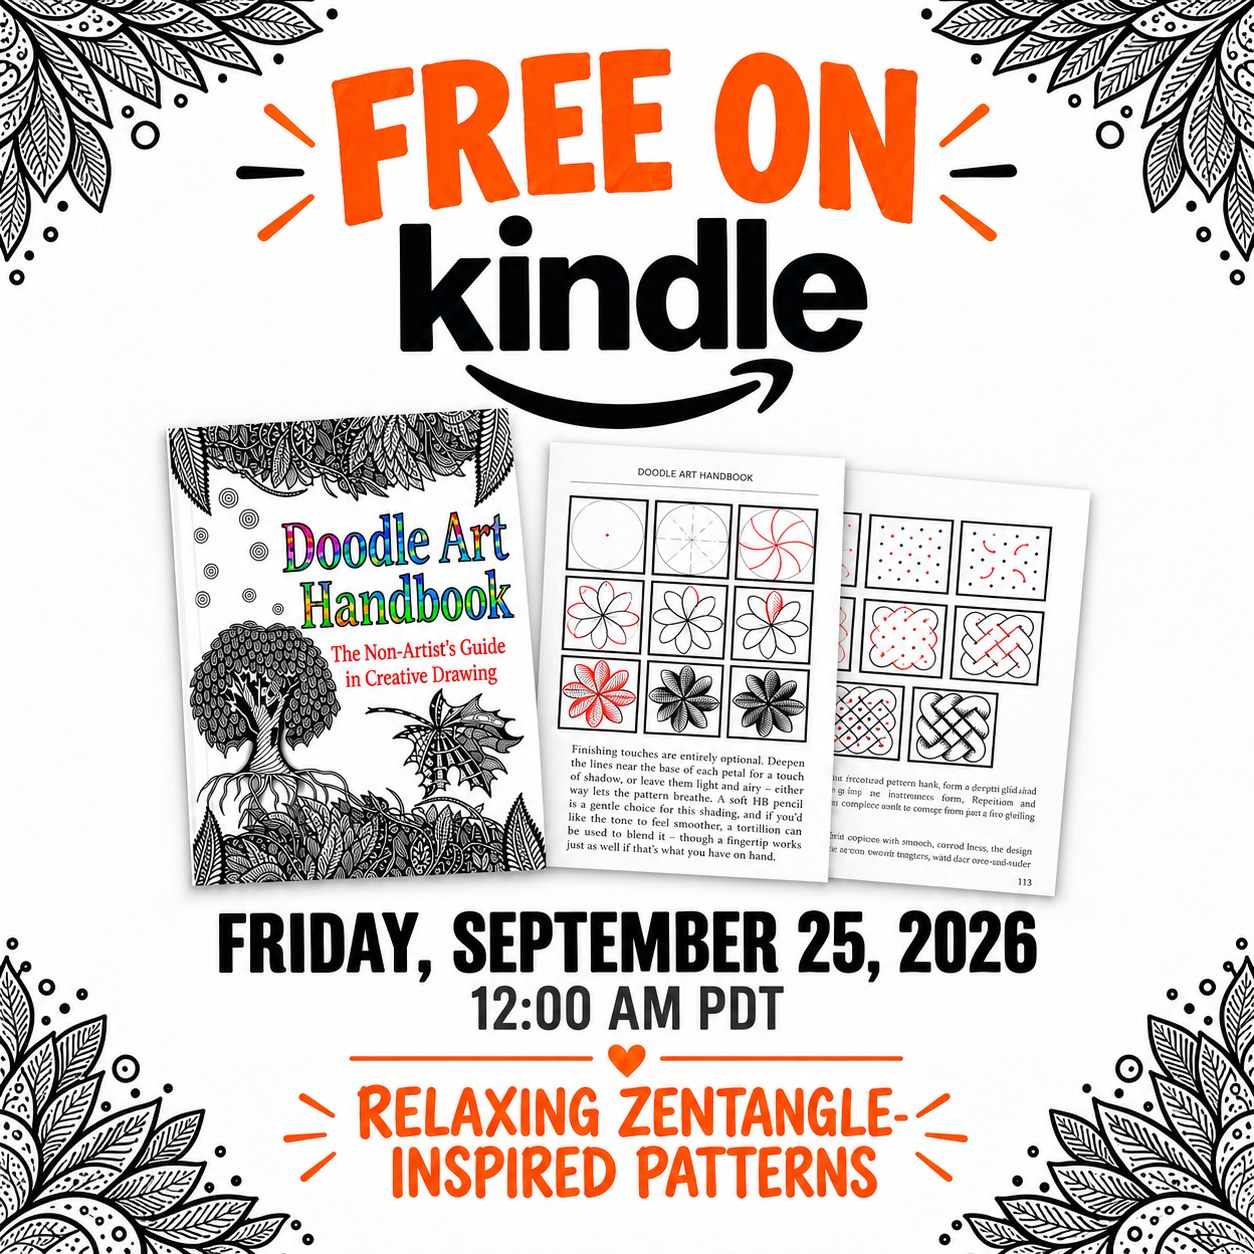
Doodle Art Handbook: For readers who want more explanation alongside the exercises. It covers materials, techniques, step-by-step patterns, shading, and ways to bring elements together into finished designs. Think of it as a broader introduction to our approach, not simply a tracing book.
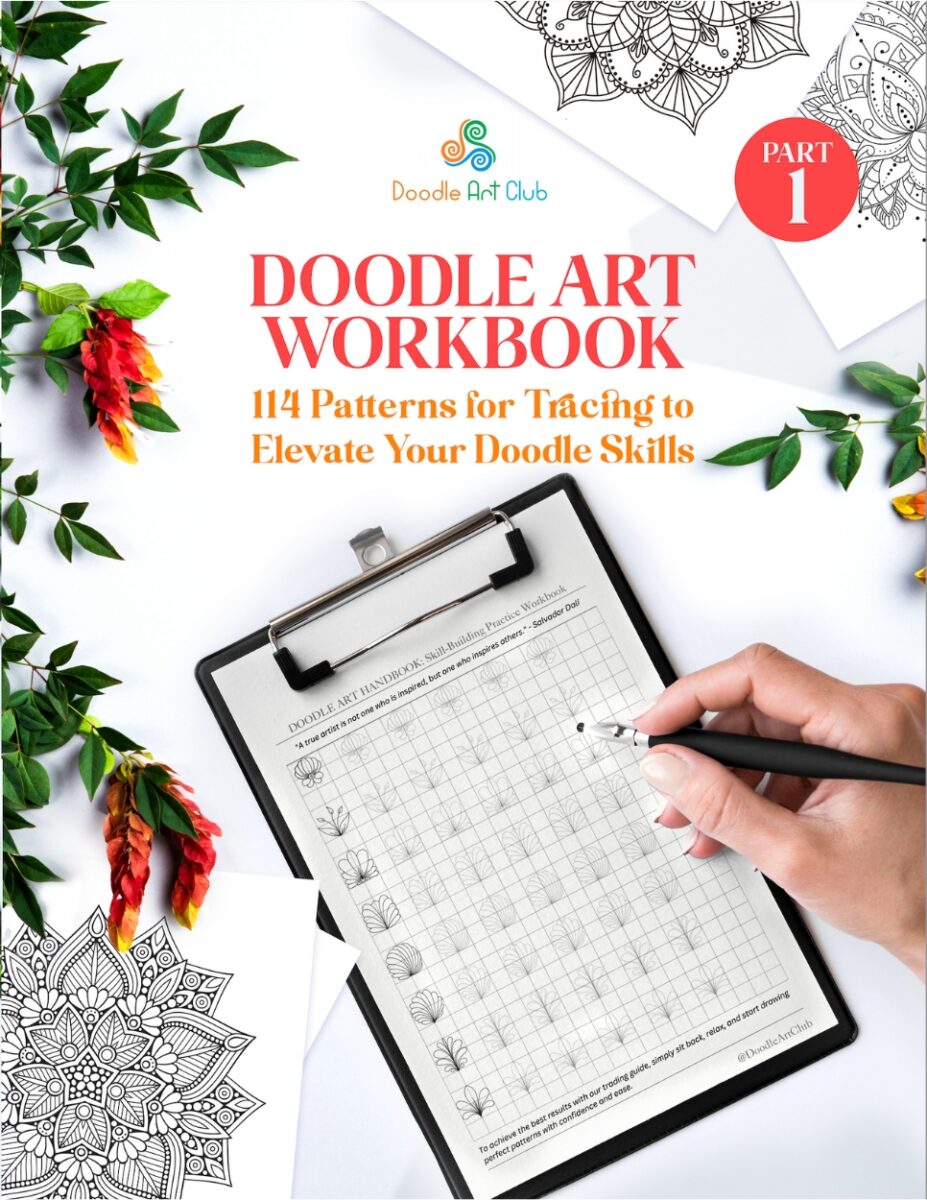
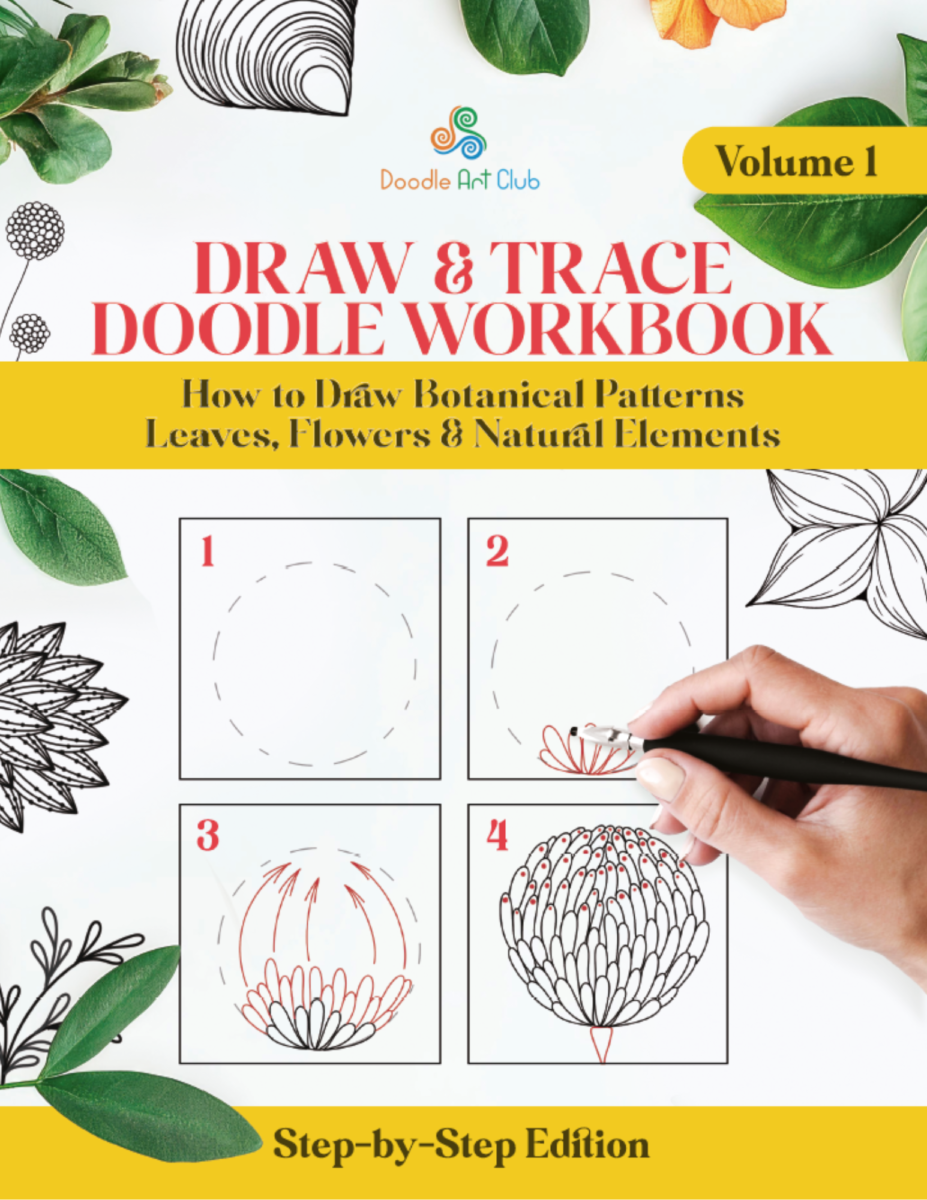
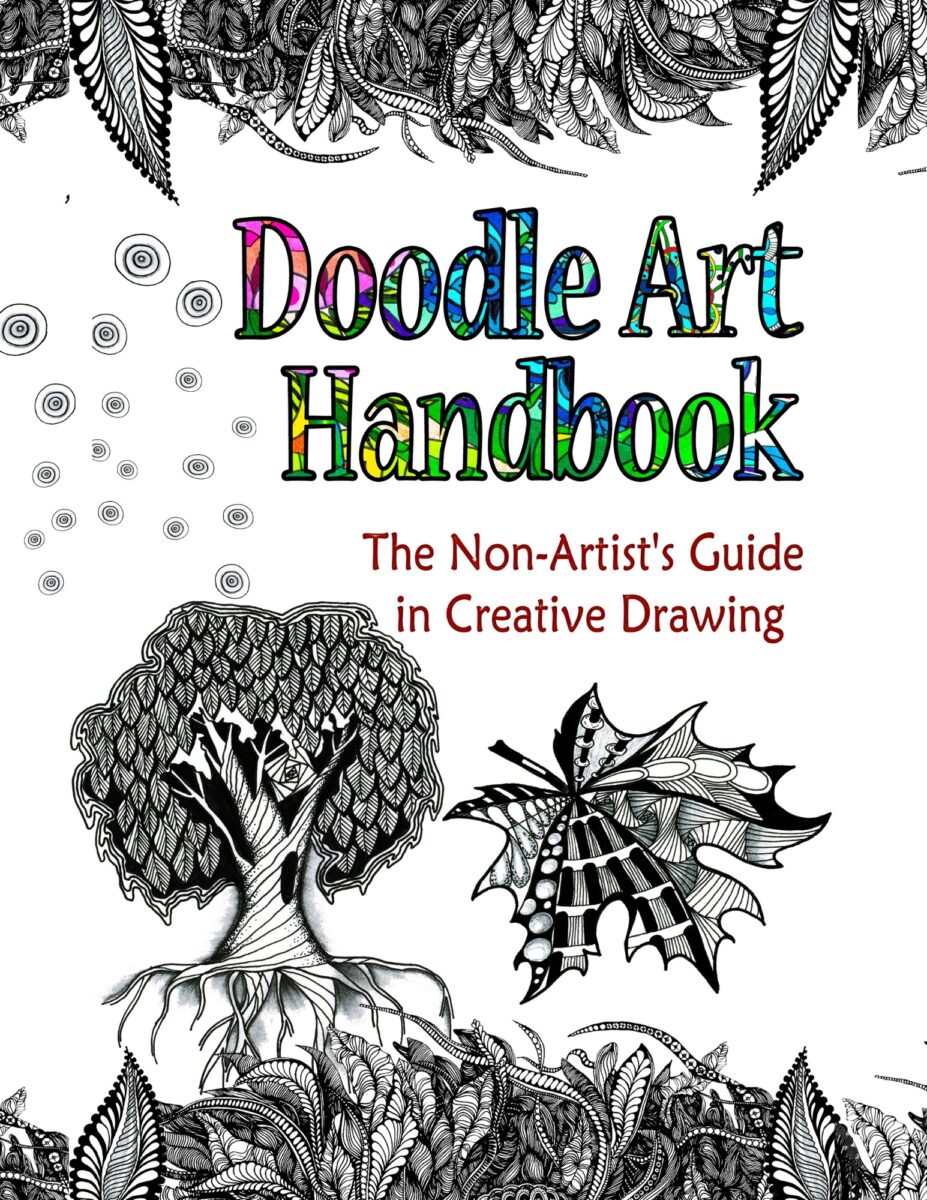
My advice? If your hand needs practice, start with tracing. If you want to learn how to construct patterns, choose step-by-step lessons. If you want to understand the process more deeply, explore the Handbook.
My Simplest Beginner Shopping List
Start with a Micron 05 (or a small assorted set), smooth paper or a notebook, and an ordinary HB pencil. Add a kneaded eraser and a tortillon when you’re ready to explore shading. Everything else can wait.
And if you’d like free practice pages and new drawing ideas, you’re welcome to join our newsletter.
A quick note: Some product links in this post may be affiliate links. If applicable, we may earn a small commission at no additional cost to you.