Spring is in full bloom—cherry blossoms drift through the air, tulips pop with color, and everything feels fresh and full of life. Inspired by this season of gentle beauty, this drawing invites you to slow down, breathe, and bring a soft blossom to life—one simple step at a time. Let your lines be imperfect. Let your mind relax. And most of all, let it be fun.
Step 1
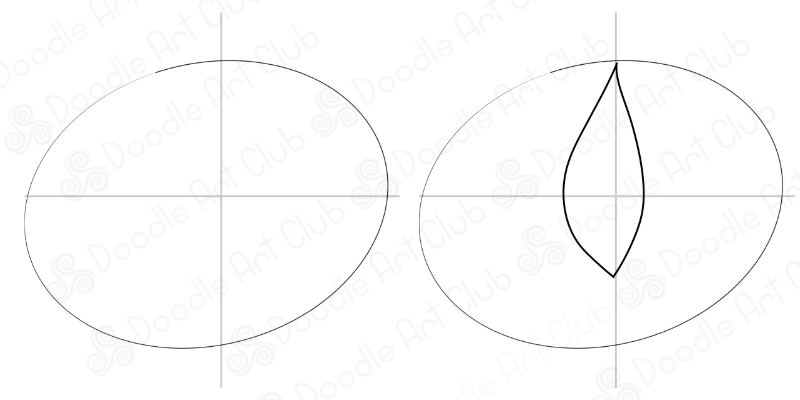
Begin by drawing a large oval in the center of your page.
This oval is your guide—it will help define the shape and borders of your future flower. Don’t worry about making it perfect. In fact, a slightly uneven shape gives your drawing more personality. Think of it as the loose frame for your bloom.
Step 2
Inside the oval, draw a petal-like shape that starts from the top and meets at a point at the bottom.
It should look a bit like a teardrop, but with a more angular, pointed bottom rather than rounded. This is the central petal of your blossom, and it will serve as the base for the rest of your flower structure.
Step 3
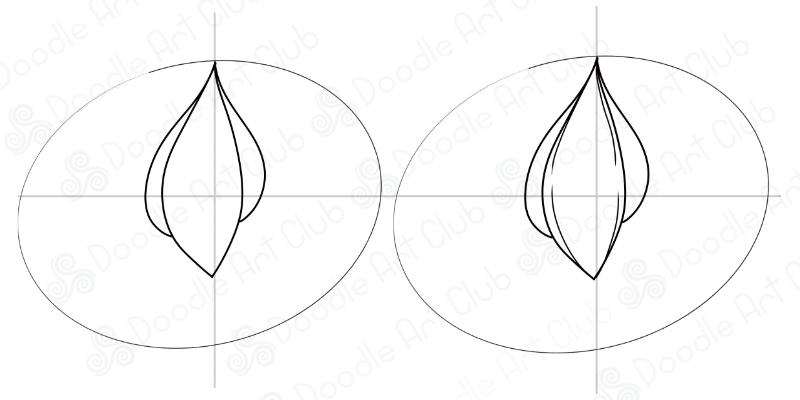
Now add an additional curve on the left and right side of your first petal.
It’s like you’re tucking in two more petals just behind the first one—only their edges are peeking out, slightly visible from each side. This creates depth and the illusion of overlapping petals, like a real blossom gently opening.
Step 4
Inside the main petal, draw two curved lines starting from the top point and flowing down toward each side. These lines follow the natural contour of the petal, adding a sense of structure and softness—almost like delicate folds or veins. They also help the petal feel more three-dimensional and alive, like it’s gently curving outward.
Step 5
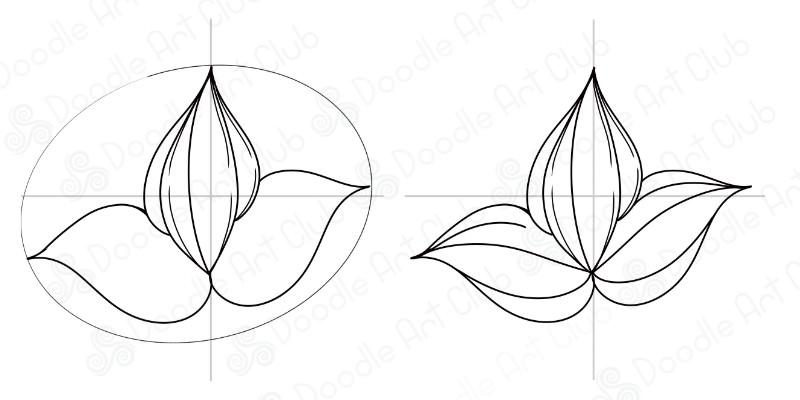
Add two large petals—one on each side of the central petal.
Let them curve outward gracefully. Keep the lines smooth, and make sure everything stays within the oval. This creates a soft, balanced base for your flower while keeping the composition contained.
Step 6
Now, add inner detail lines to the two side petals: Draw a smooth, curved line inside each petal, following its natural contour. These lines should flow inward from the tip toward the center, mimicking the shape of the petal itself. Just like with the central petal, these inner curves add structure and softness—like gentle folds or veins—giving the flower more depth and a lifelike, three-dimensional feel. 🧽 Now that the main structure is complete, you can gently erase the oval guideline.
Step 7
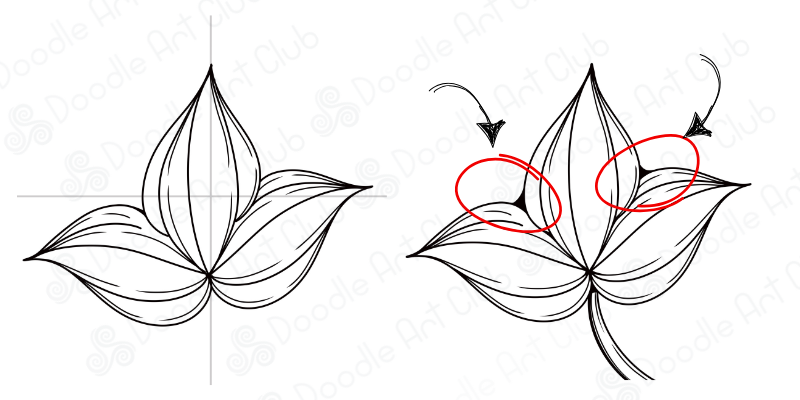
Now it’s time to enhance the petals with additional inner lines.
In each of the two large outer petals (left, right), add one or two more curved lines, similar to the ones you added earlier. These lines should follow the natural shape of the petal—starting near the tip and flowing inward, slightly curving toward the base.
This step adds depth and texture, making the petals feel layered and dynamic—almost like gentle folds or natural veins. The extra lines help the flower come alive, adding richness and a sense of graceful movement.
Take your time here. Let your hand follow the curve of the petal, and don’t worry about making the lines perfectly symmetrical—organic is beautiful.
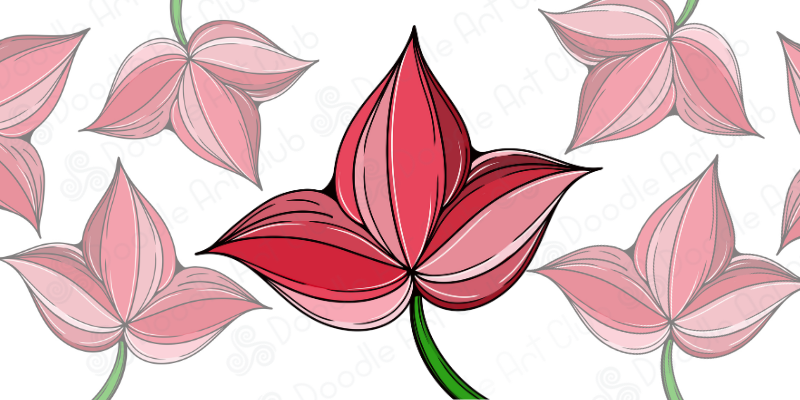
Step 8
Let’s add depth and grounding to your flower.
In the inner corners where the petals overlap, add small darkened areas or shadow spots. You can do this by thickening the lines slightly or filling in those areas with soft, curved shading. These little touches create a sense of layering and light, helping parts of the flower recede into the background while others come forward. It adds a quiet drama—like light gently falling on a real blossom.
Next, draw a thin, slightly curved stem extending down from the base of the flower where all petals meet. Let it flow naturally, like it’s gently swaying. This simple line helps anchor the flower and completes the form, making it feel like part of a real plant.
🌿 You did it—step by step, petal by petal, your blossom came to life!
This little flower is more than just a drawing. It’s a reminder that beauty doesn’t come from perfection—it comes from presence. From slowing down. From letting your hand move freely and your mind rest in the moment.
And if you’re still working on gaining control over your pen—if your lines feel shaky or unsure—that’s completely normal. Drawing is like any other mindful practice: it grows with daily effort.
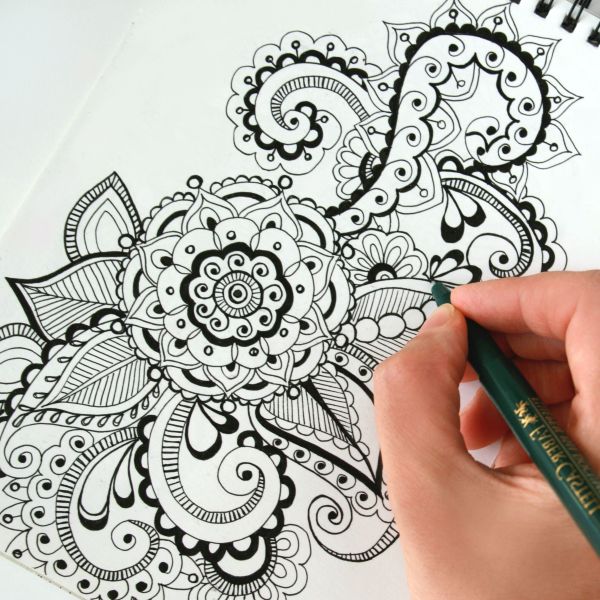
✨ That’s why we created our Doodle Art Workbooks. They’re designed to gently guide you through line work, pen control, and pattern-building—one simple page at a time. The more you practice, the steadier your hand becomes, and the more confident you’ll feel.
👉 Explore our workbooks here and turn your quiet drawing moments into a creative habit you truly enjoy.
Happy doodling, and keep blooming. 🌸
With love,
Doodle Art Team