STEP 1: CREATE THE GUIDELINES
Before adding details, it’s important to set up a solid foundation for your mandala.
Begin by drawing a horizontal and a vertical line that intersect at the center of your paper.
Mark the exact center where the lines cross—this will serve as the focal point of your mandala.
Along the horizontal line, make small marks at 1 cm intervals. These will act as reference points for drawing concentric circles.

STEP 1A: DRAW CONCENTRIC CIRCLES & DIVIDE THE GRID
Using a compass, draw a series of concentric circles, aligning their radii with the 1 cm marks from the previous step. These circles will serve as guides for maintaining proportion and symmetry in your design.
Next, use a protractor to measure and divide the circle into equal sections. A common approach is to mark every 15 degrees.
Extend these dividing lines outward to form a structured radial grid. The combination of concentric circles and radial lines will help you create balanced and symmetrical patterns.
With your guidelines in place, you’re now ready to start sketching the base patterns of your mandala.

STEP 2: SKETCH THE BASE PATTERN
With your guiding lines in place, it’s time to outline the foundational shapes of your mandala.
Using a pencil, lightly sketch the base patterns, focusing on composition rather than details. Think of this as a rough draft—keep the shapes blank and simple. This stage allows you to experiment and adjust elements before committing to inking.
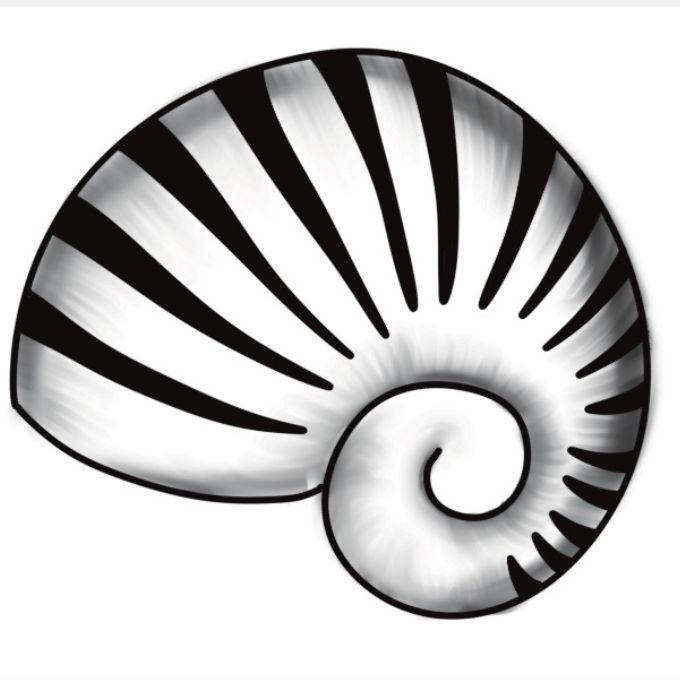
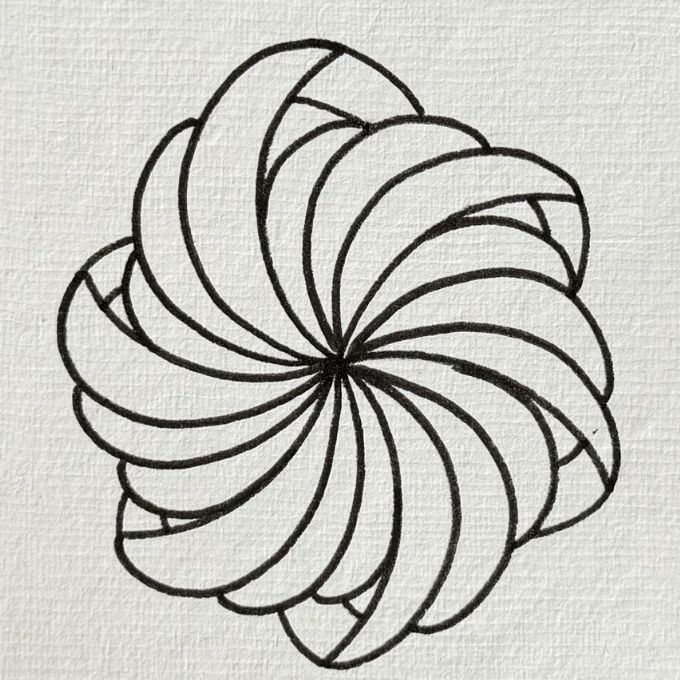
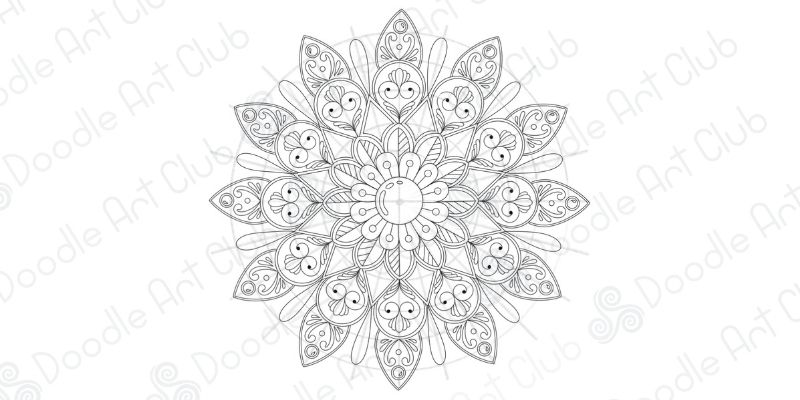
Mandalas are made up of various shapes that contribute to their symmetry and complexity. Here are some fundamental elements you can incorporate into your design:

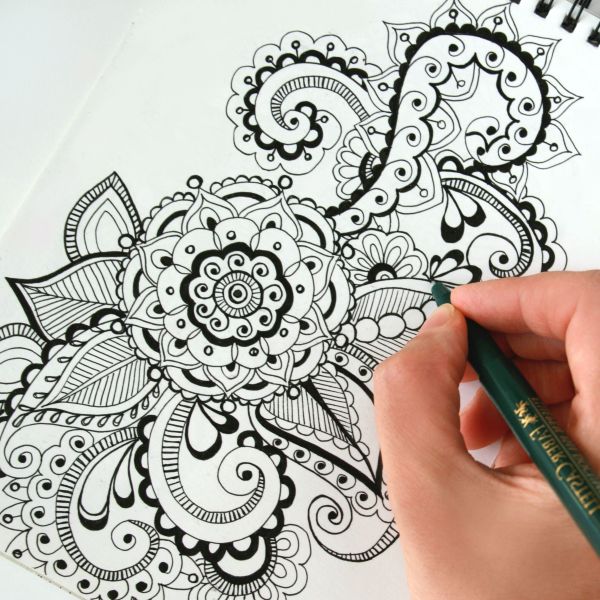
STEP 3: ADD DETAILS AND INK THE DESIGN
Now that your base patterns are in place, it’s time to bring them to life with intricate details and inking.
If you prefer, start with a light pencil sketch to map out your patterns before committing to ink. Otherwise, you can go straight in with a pigment liner.
Choose your pen thickness based on the level of detail in your mandala. For a balanced look:
Use a thicker pen (1.0mm or 0.8mm) for outlining the main shapes.
Use a finer pen (around 0.5mm) for adding intricate details inside the shapes.
Try to limit yourself to just two pen sizes to maintain a clean and cohesive design. Too many different line weights can make the mandala feel cluttered. One size should define the main structure, while the other enhances the details within the patterns.
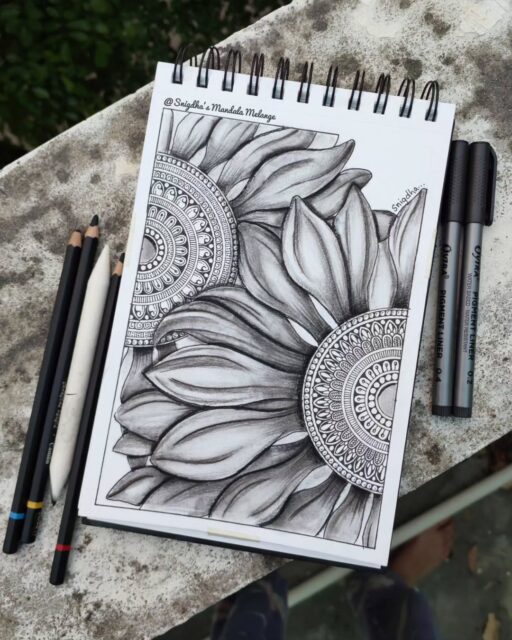
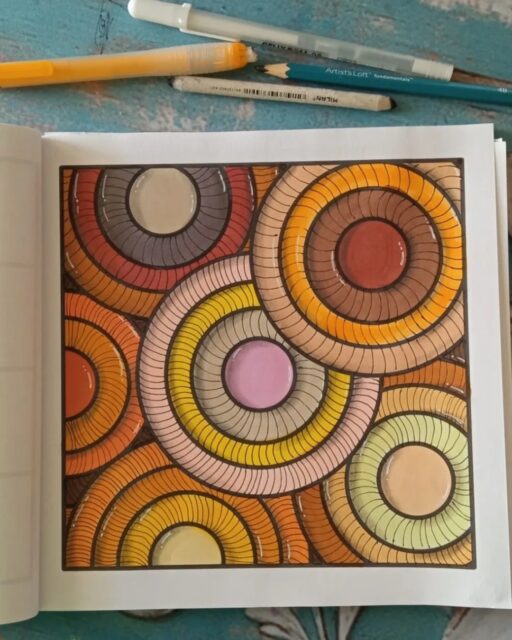
STEP 4: FINALIZE AND ADD COLOR OR SHADING
Before adding color or shading, erase any remaining pencil lines so that only your clean, inked design remains.
Double-check that every part of your mandala is fully inked. Go over any faint lines and reinforce the details to achieve a bold, polished look.
Now, bring your mandala to life! Colored pencils work best for this workbook, allowing for smooth shading and precise gradients without bleeding through the paper. Here are a few techniques to enhance your design:
Create depth by layering light and dark tones for soft transitions.
Use solid black fills to add strong contrast and make patterns stand out.
Apply shading techniques to add dimension without overpowering the design.

You did it! Your mandala is complete, and no matter how you chose to color or shade it, it’s uniquely yours. Take a moment to appreciate your creativity and the progress you’ve made. Keep experimenting, keep creating, and most importantly—have fun!